Do you feel like when you opened Dubsado that you stepped onto a minefield? Dubsado can be overwhelming and it might be unclear where to start with the set up because of all of the options it provides. But don’t worry, this is what I hear a lot from my clients as well.
So, therefore, in this article, I will walk you through all the basic settings of Dubsado and explain what these settings are for so that you exactly know where to start.
But before you do that, have you:
- Mapped out your processes
- Translated these processes into Dubsado workflows
- Created your Dubsado assets
If not, be sure to do this first before you get into these general settings.
GENERAL SETTINGS
It can be very tempting to directly dive into setting up workflow but I always advise you to start with the general settings. You can find these by going to the little cog on the right hand of your screen.
The settings are broken up into brand settings and account settings.
Brand Settings
- Branding (Priority 1)
- Dashboard (Priority 2)
- Portal (Priority 1 – if you want to invite clients into Dubsado)
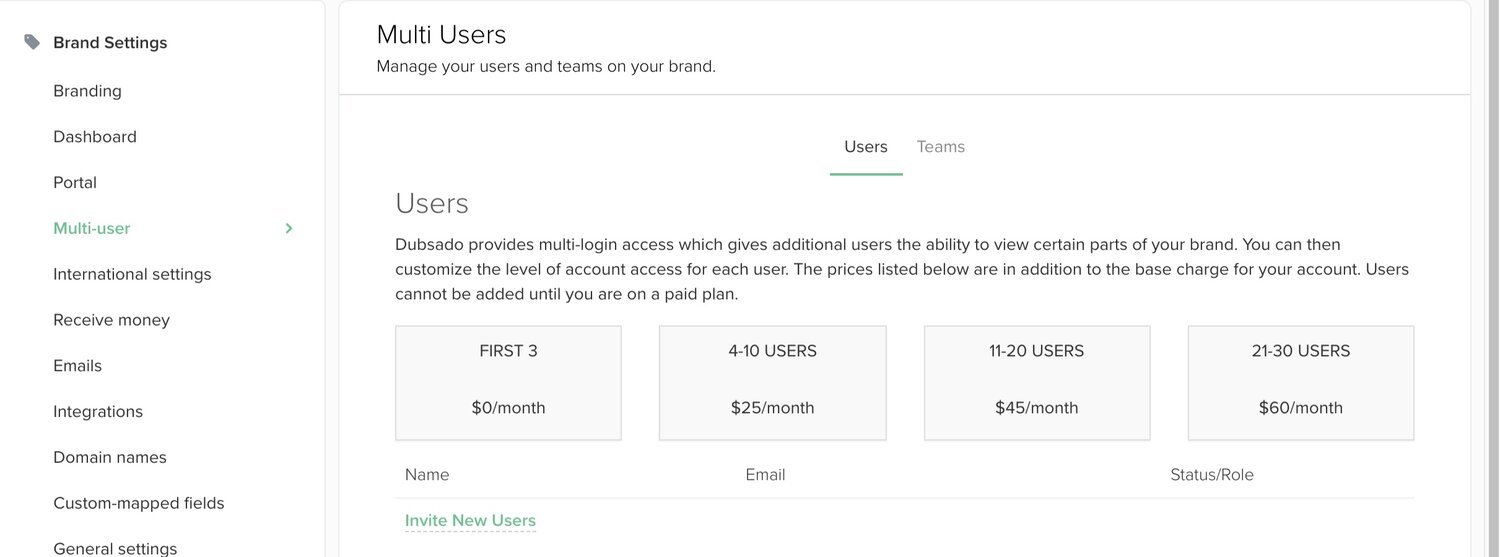
- Multi-user (Only needed if you have a team or VA)
- International settings (Priority 1)
- Receive money (Priority 1)
- Emails (Priority 1)
- Integrations (Priority 1)
- Domain names (Priority 1)
- Custom-mapped fields
- General settings (Priority 2)
Account Settings
- Login settings (Priority 2)
- Billing (Only need to do this once you have used your first 3 free projects)
- Notifications (Priority 3)
- Affiliate dashboard (Priority 4)
Now you know what you find in the general settings within Dubsado let’s dive into the individual sections.
BRAND SETTINGS
Branding
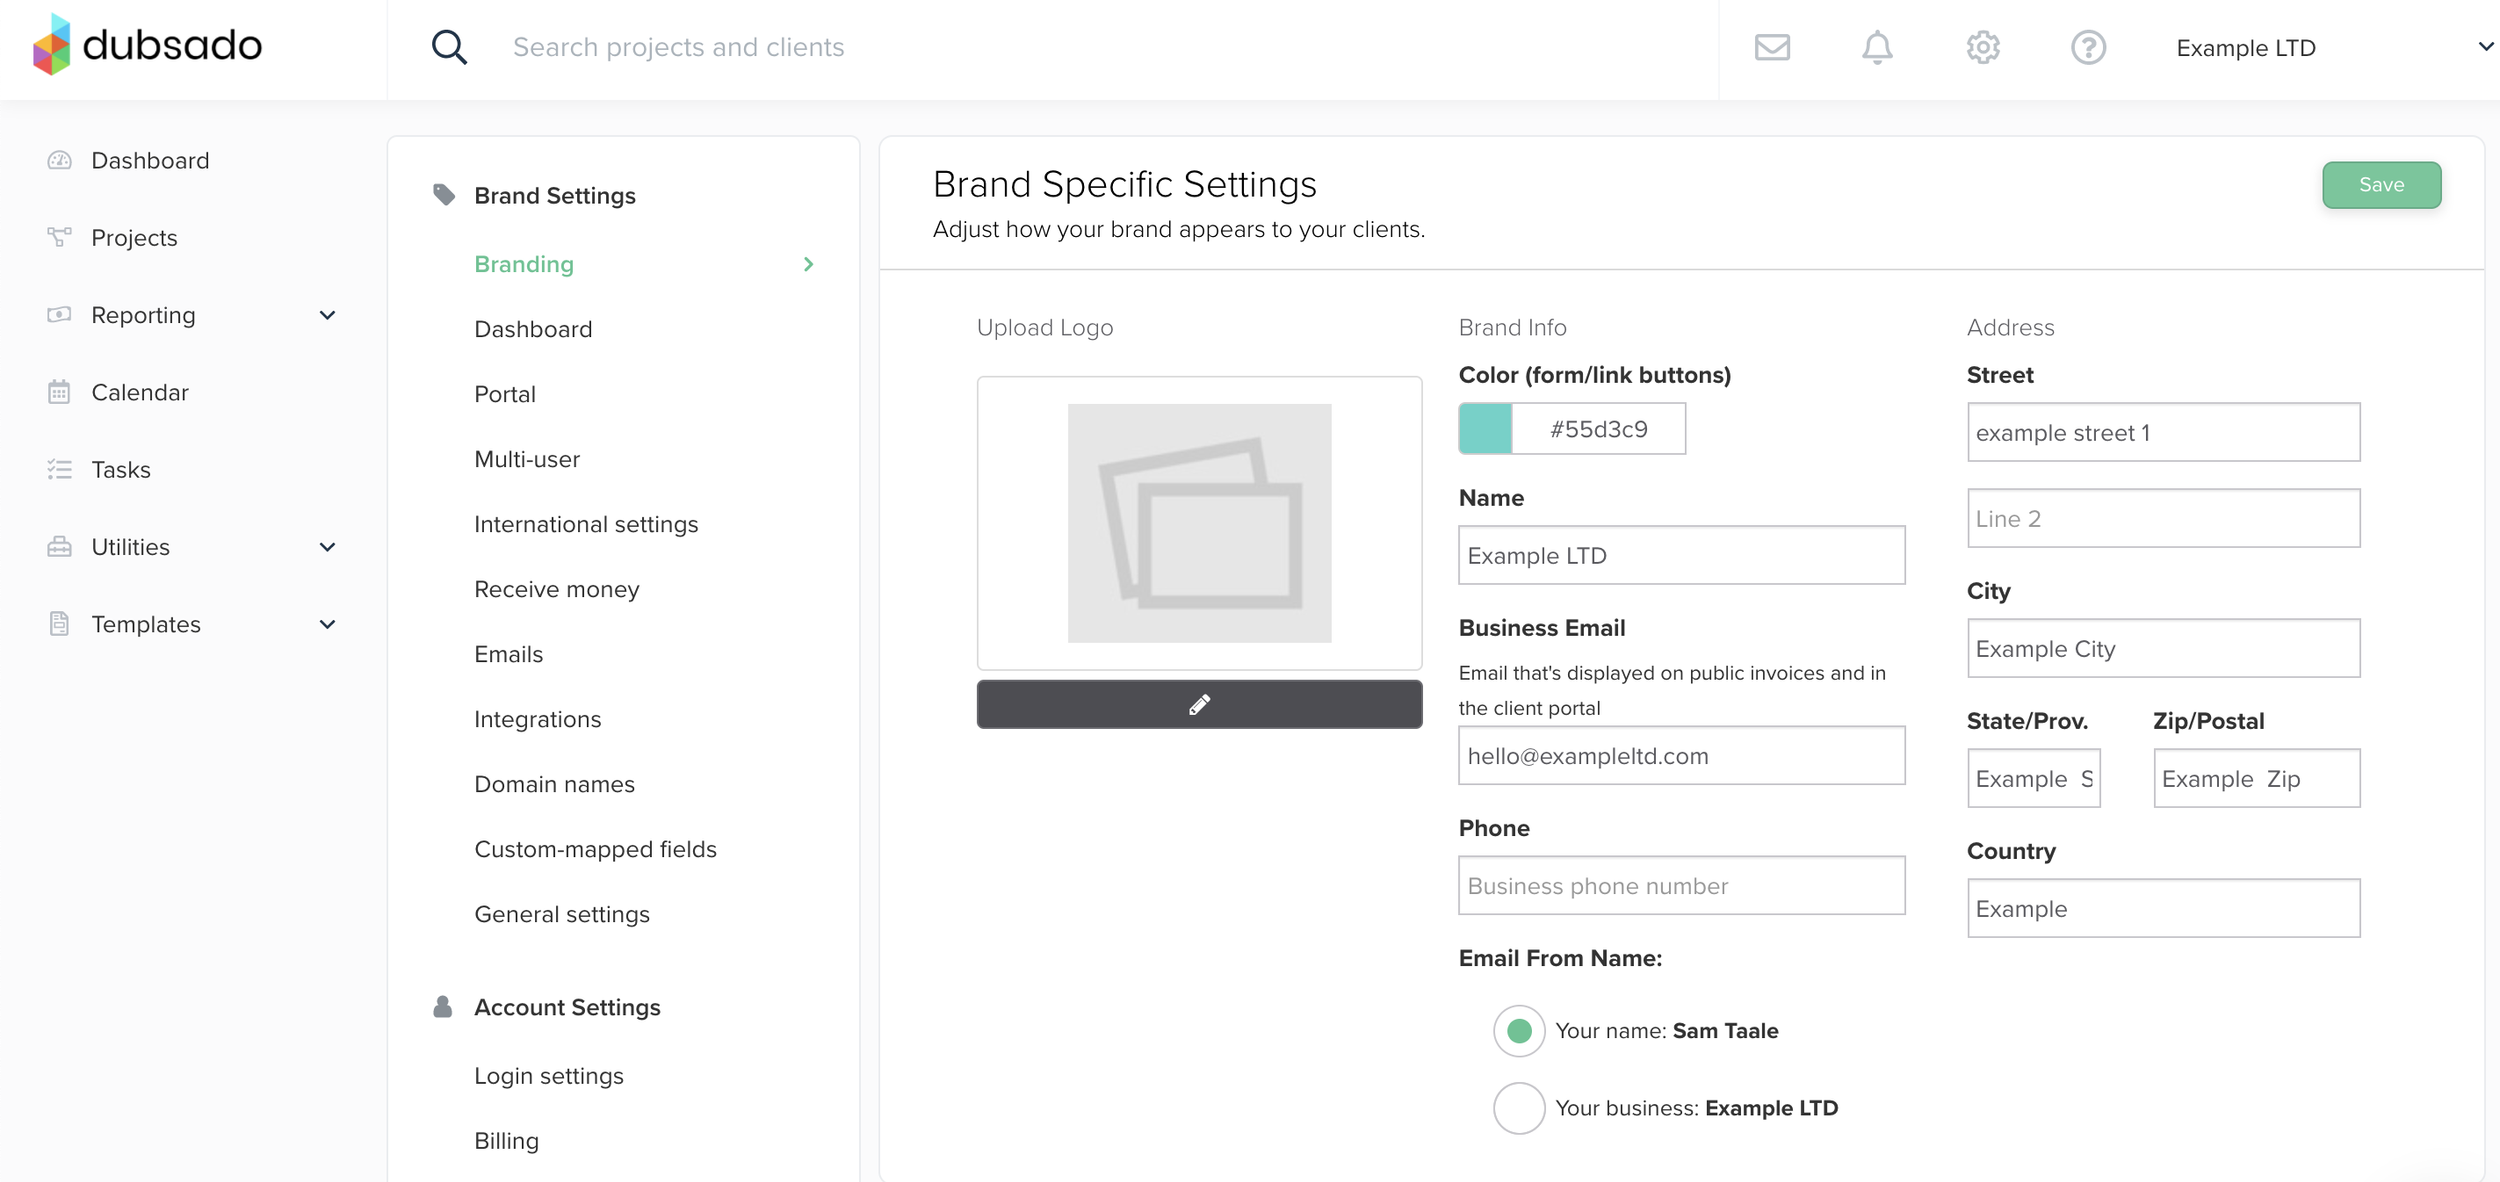
- The branding section is used to upload the logo of your company. The logo will appear on the invoices you send and by default will appear in your Dubsado Client Portal. However, you can change this in the client portal section of the Brand Settings (see below).
- This is also where add your brand colours for the buttons in your forms. To do this you just have to fill in the Hex code (the code with the #) of your chosen brand colour.
- Next to that, this is where you fill in the company details like name and address.
- The email and telephone number that you fill in here will be displayed on the invoices and in your client portal. In case you prefer not to show this on the client portal or invoice you can leave it blank.
- At the bottom of this section, you can select the email from name. This is what will be shown when you send emails from within Dubsado. You can choose either your personal name or your business name.
Dashboard
-
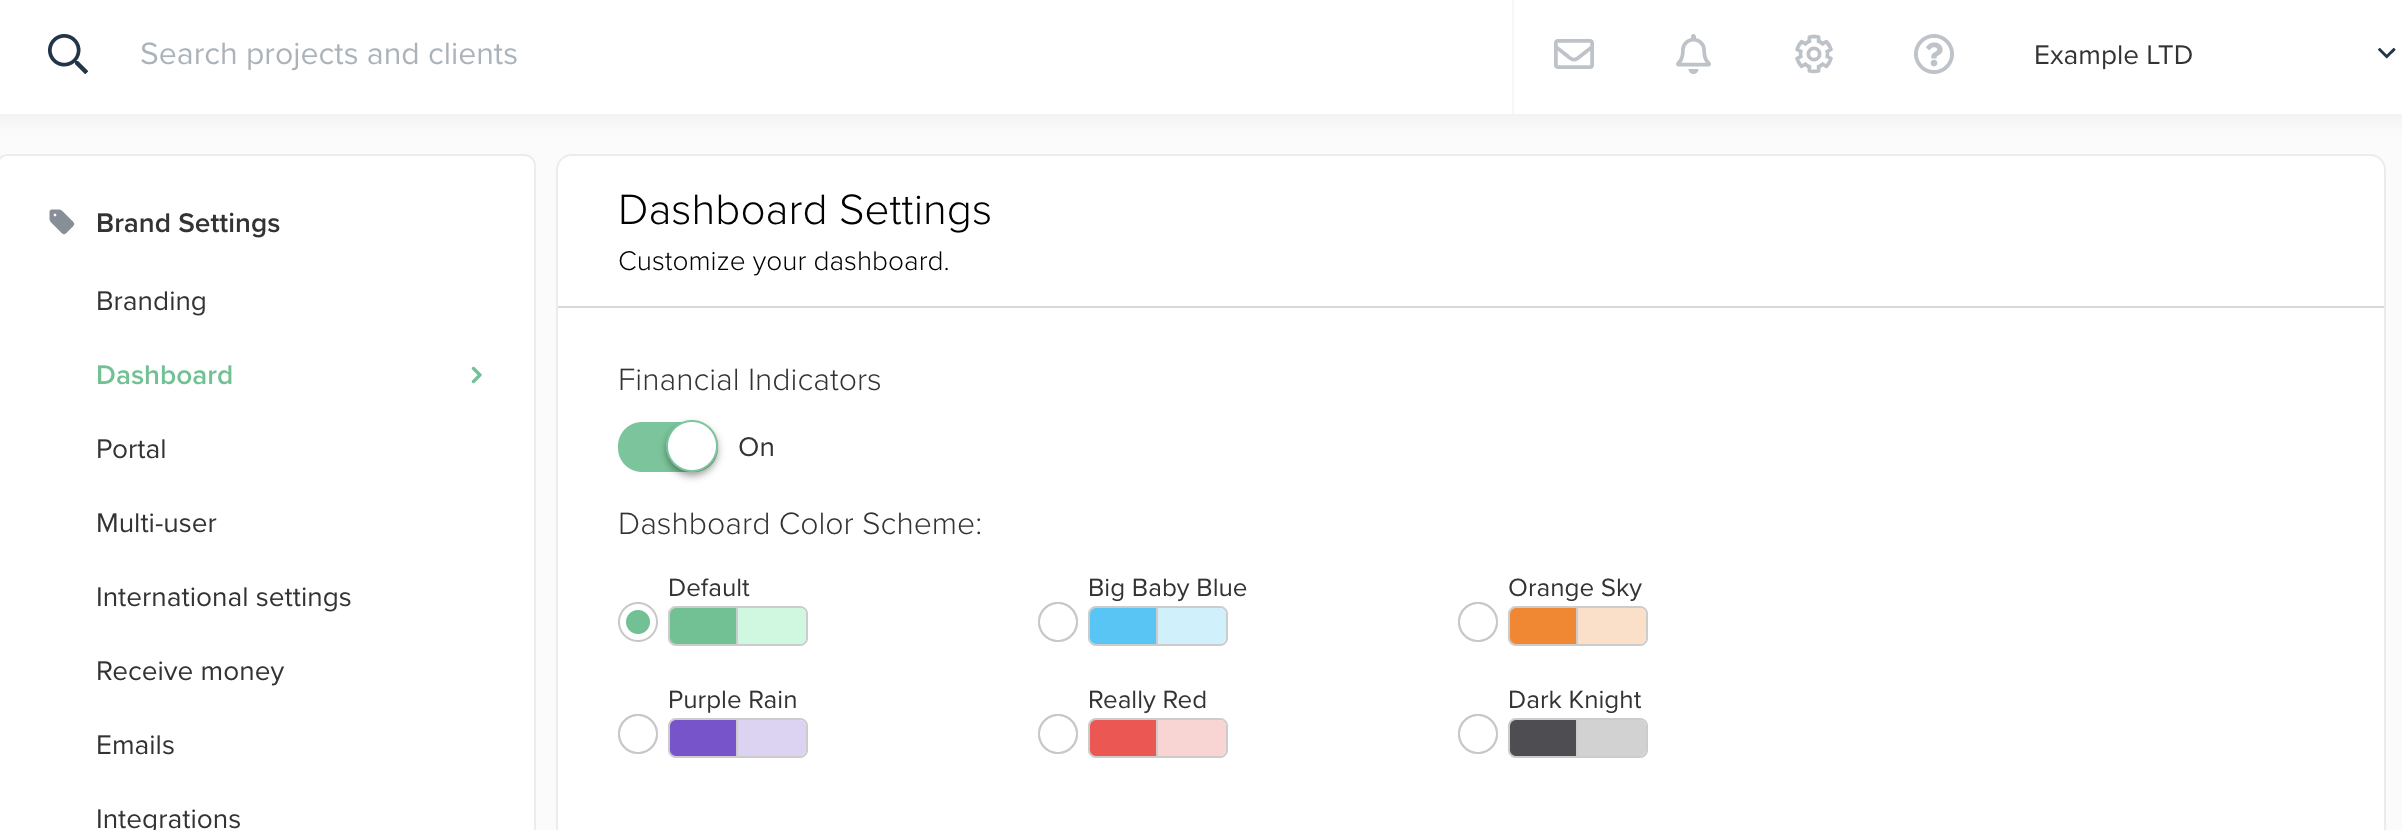
In the Dashboard section, you can change the colour scheme of the dashboard, which is your main screen when you log in to your Dubsado account.
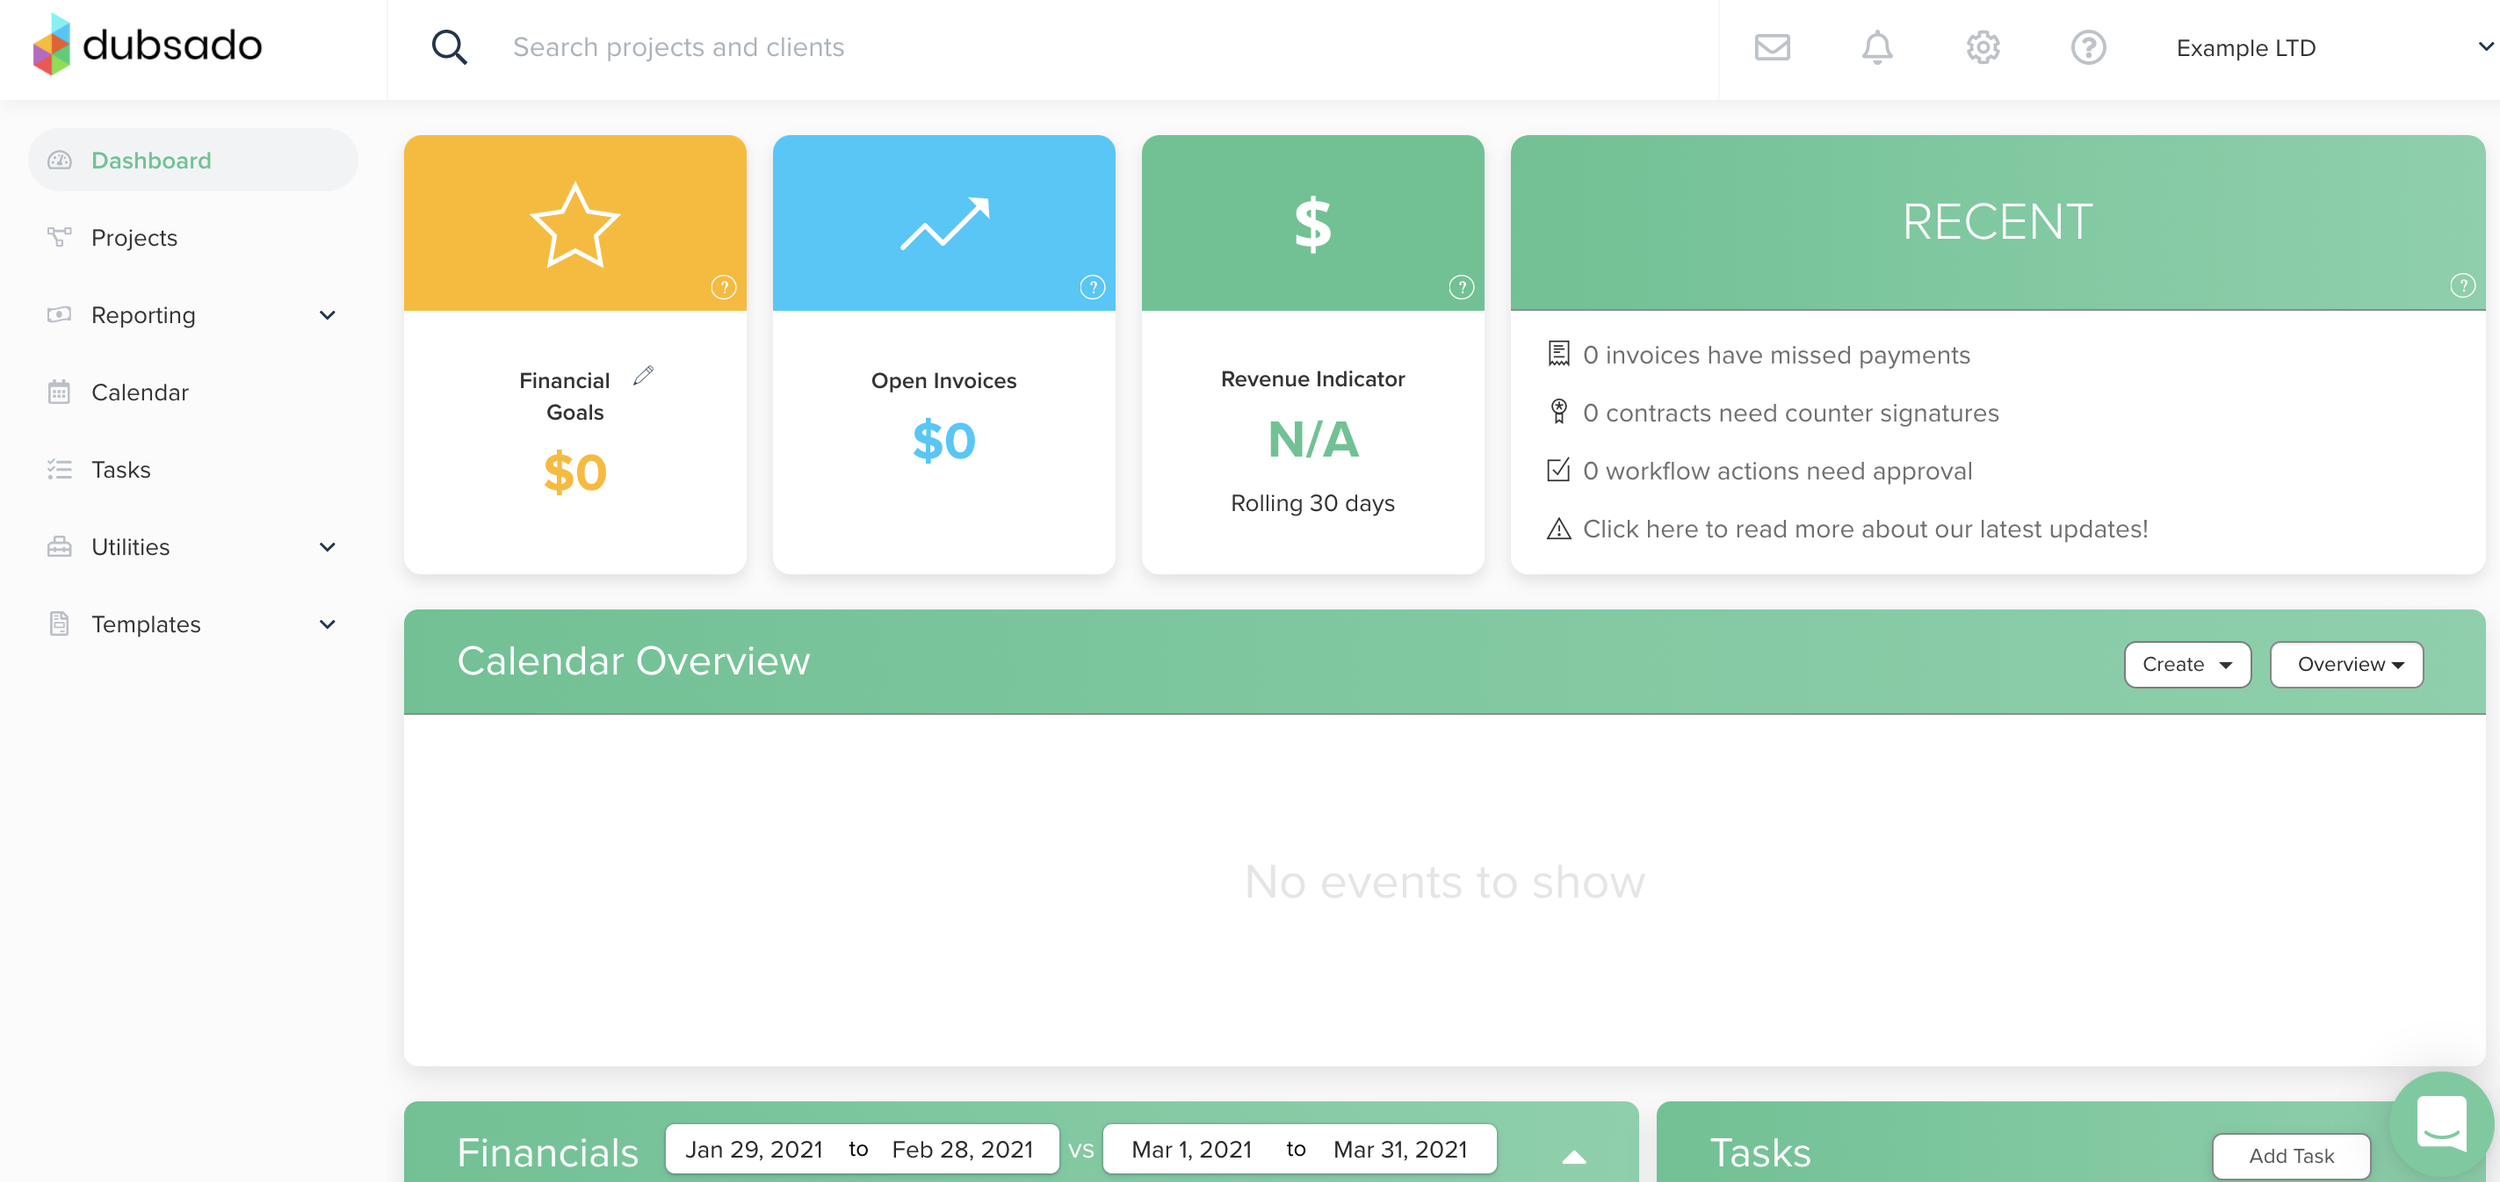
On your dashboard, you can show financial indicators. These give a quick overview of:
- How much money you received in either the current month or year
- The amount of open invoices for all projects
- And a comparison of revenue received over the last 30 days in revenue received.
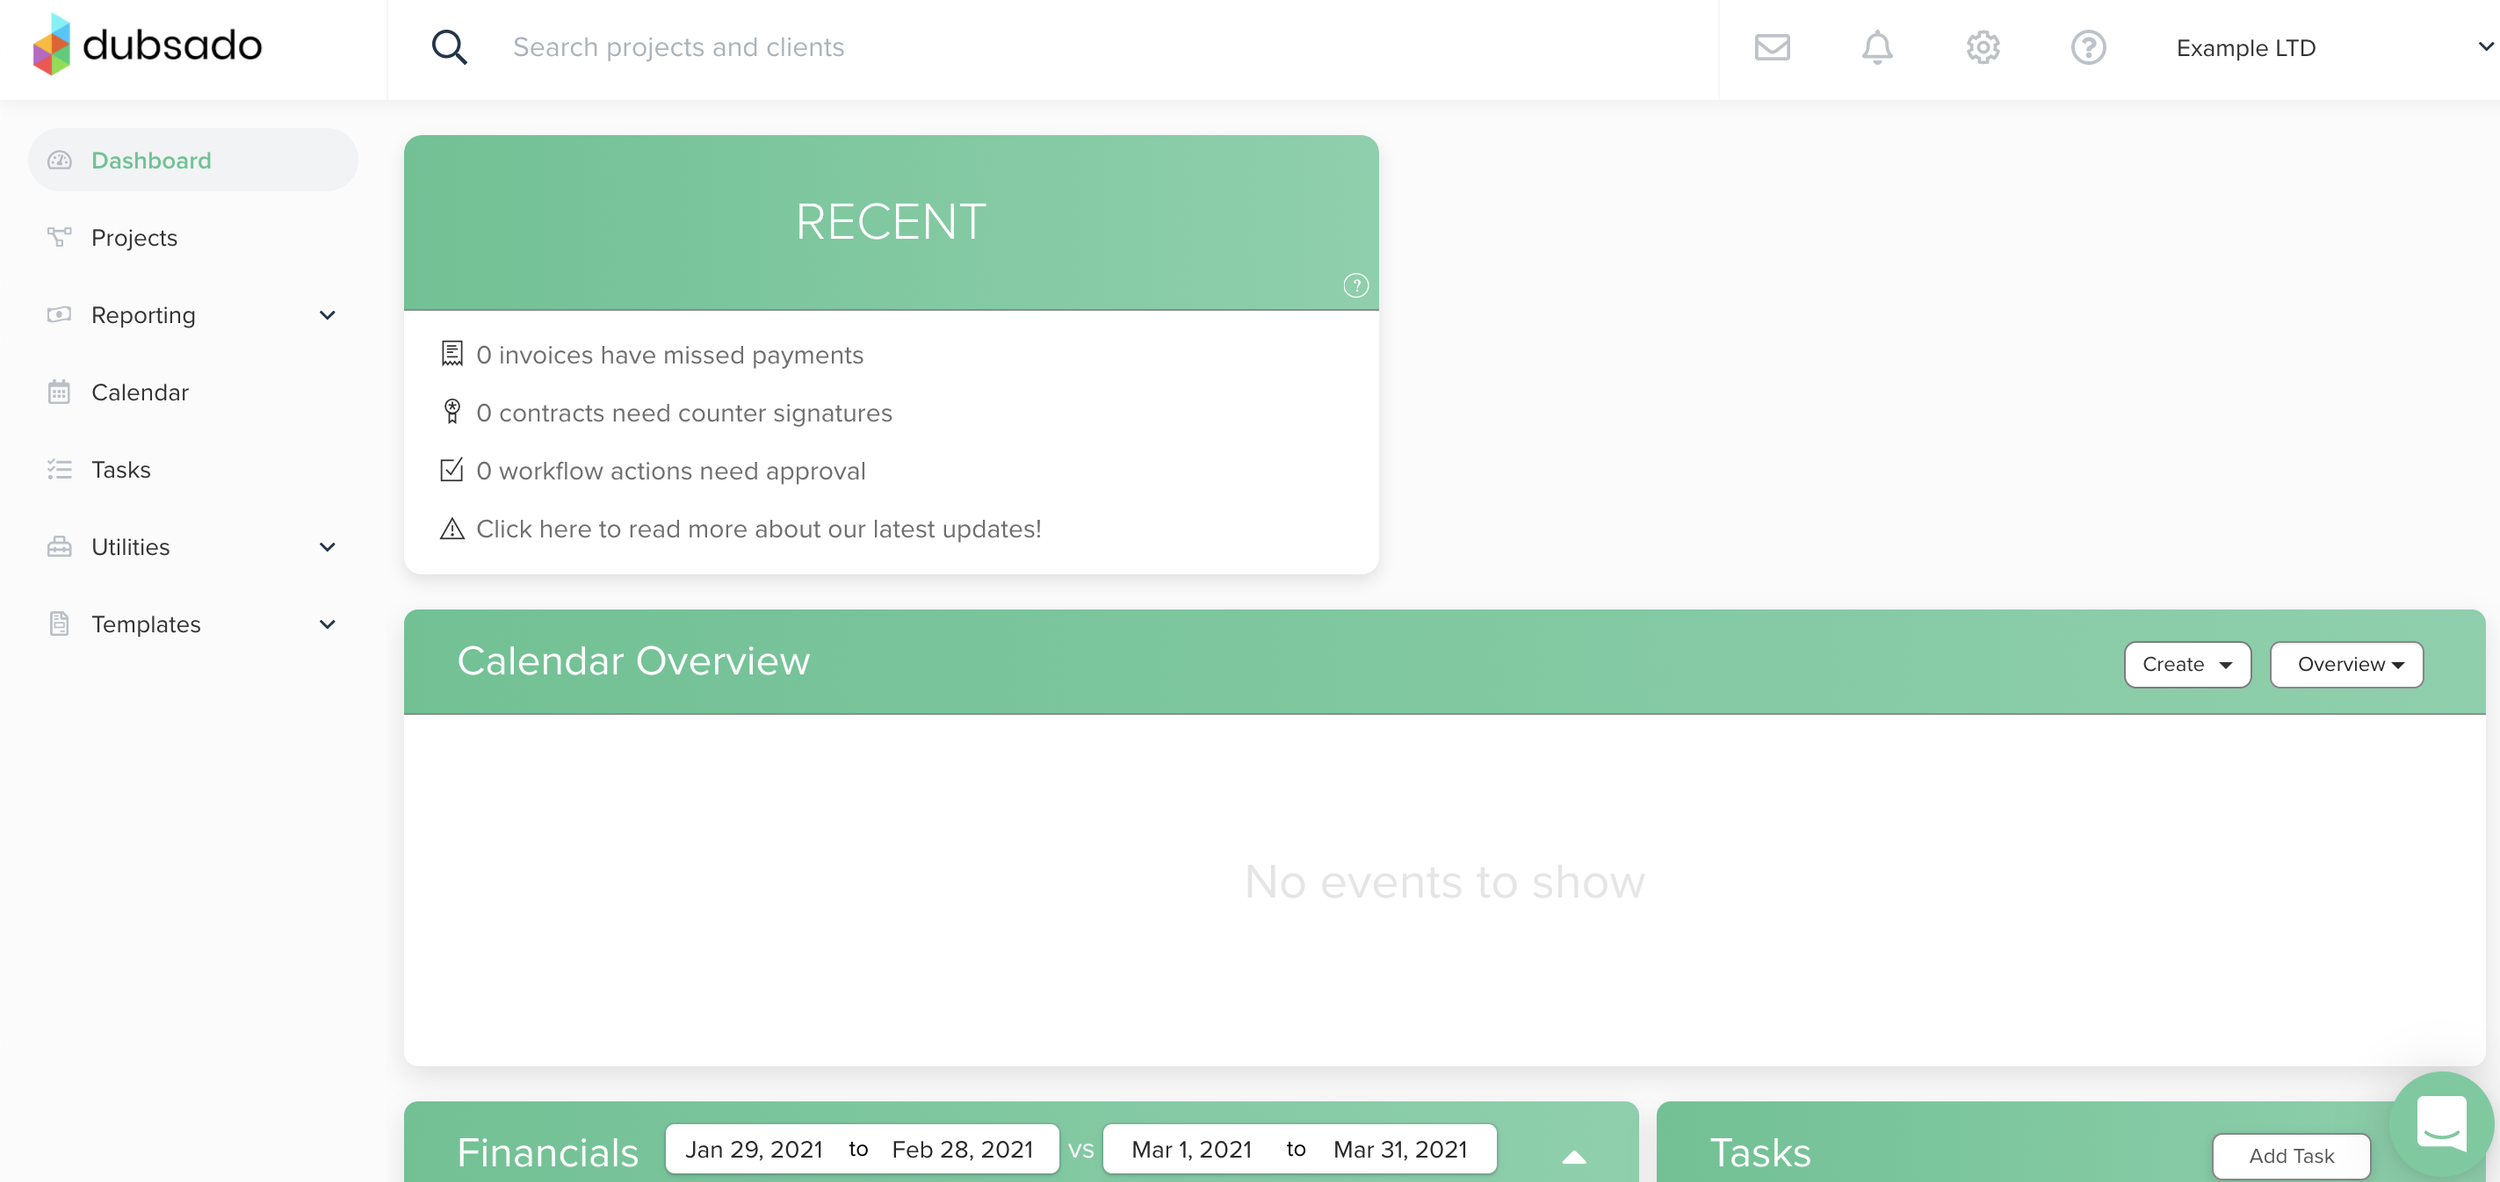
If you don’t want to see this, you can untick this option here. I included screenshots below so that you can see what it looks like with and without.
Portal
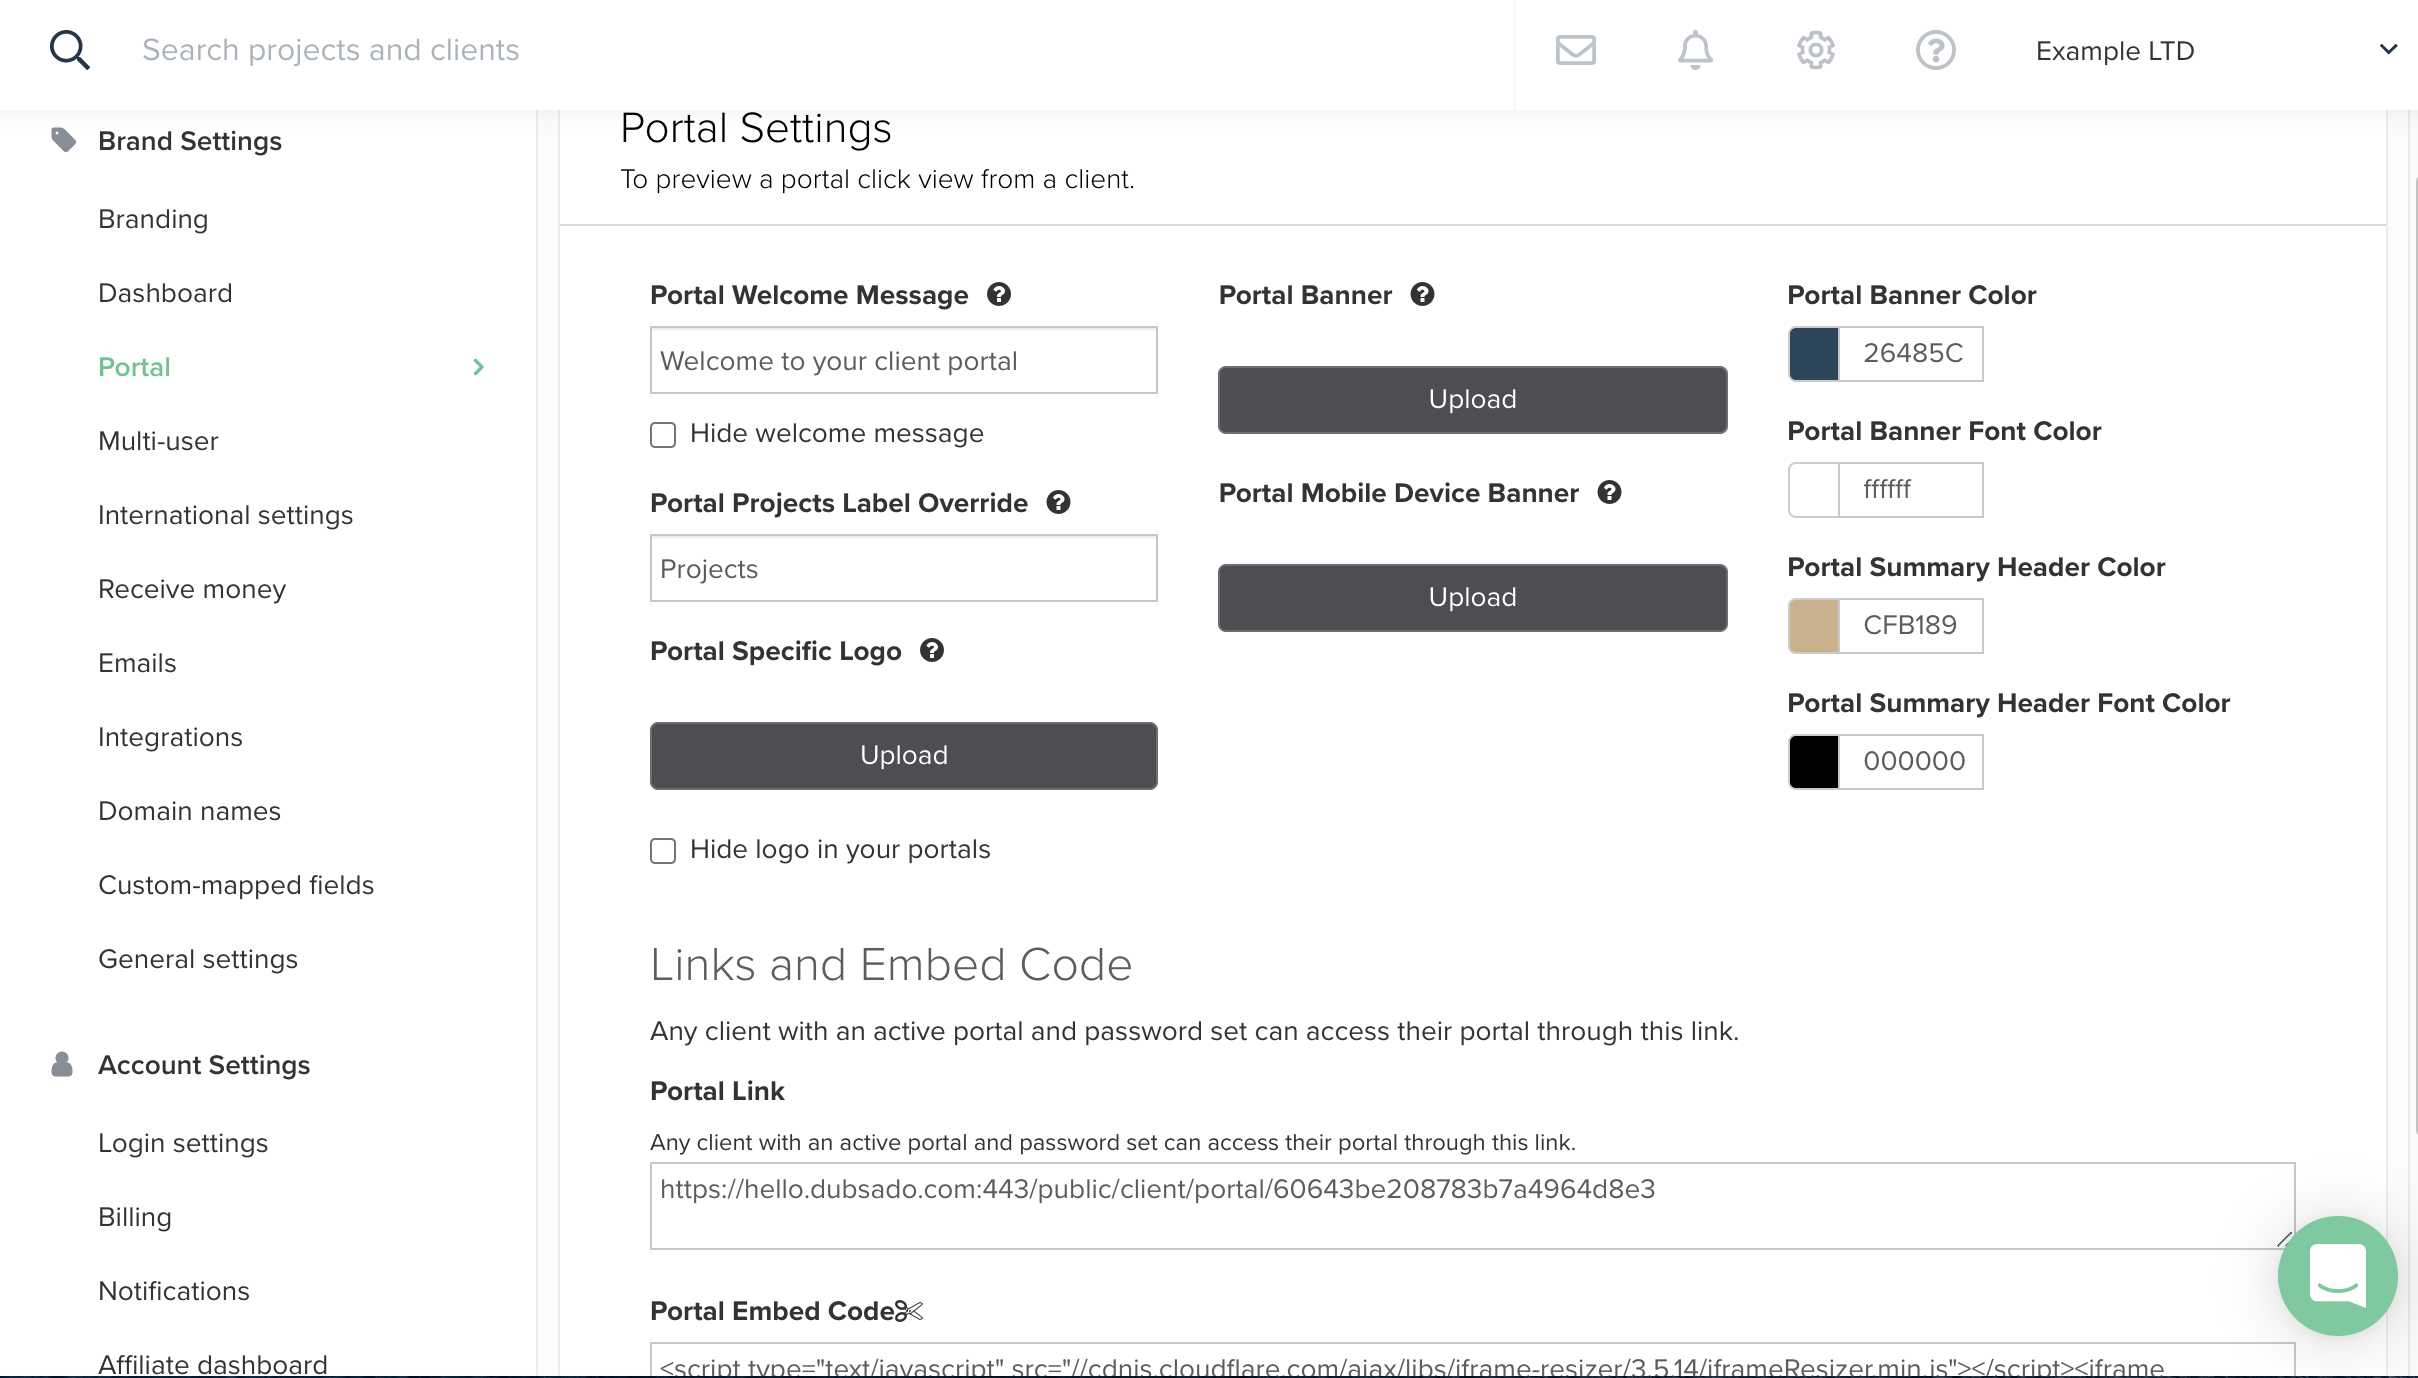
The portal settings are as you probably have guessed already for your Dubsado Client Portal Settings.
- You can choose to display a welcome message. This will be a general welcome message for when your client logs in to their client portal. It’s unfortunately not possible to customise the message per client. If you don’t want to display the welcome message you can tick the box underneath to hide the message.
- If you have multiple logo’s and you would like to display your alternative logo in your client banner you can upload it under the Portal Specific logo. Or if you don’t want to display any logo you can tick the box Hide logo in your portals.
- For your Dubsado client portal banner you have 2 options:
-
-
You can display an image that you can upload underneath portal banner. You can also upload a separate image to be displayed on a mobile.
-
If you decide to not display a banner image you can select the colour under portal banner colour. Next to the portal banner colour, you can also set the colour for the summary header as well as the font colour for the banner and summer header. In the 2 screenshots below you can see the settings that are filled in and what area is affected.
-
-
In this area, you can also find the general link to the Client Portal (but you set the password for each client portal within the client project) and the embed code to embed the client portal on your website.
-
As you can see from the below image in your Dubsado client portal your client will have insights into their projects, emails and profile. If the name ‘Projects’ is not a correct description of your services you can change the name underneath Portal Projects Label Override. Again, this will be for all clients with a client portal.
Multi-users
In case you have multiple team members that need access to Dubsado and you don’t want to share your login Dubsado gives you the option to add team members to your account. However please be mindful that for more than 3 users an additional monthly fee of $25,- will be charged.
International Settings
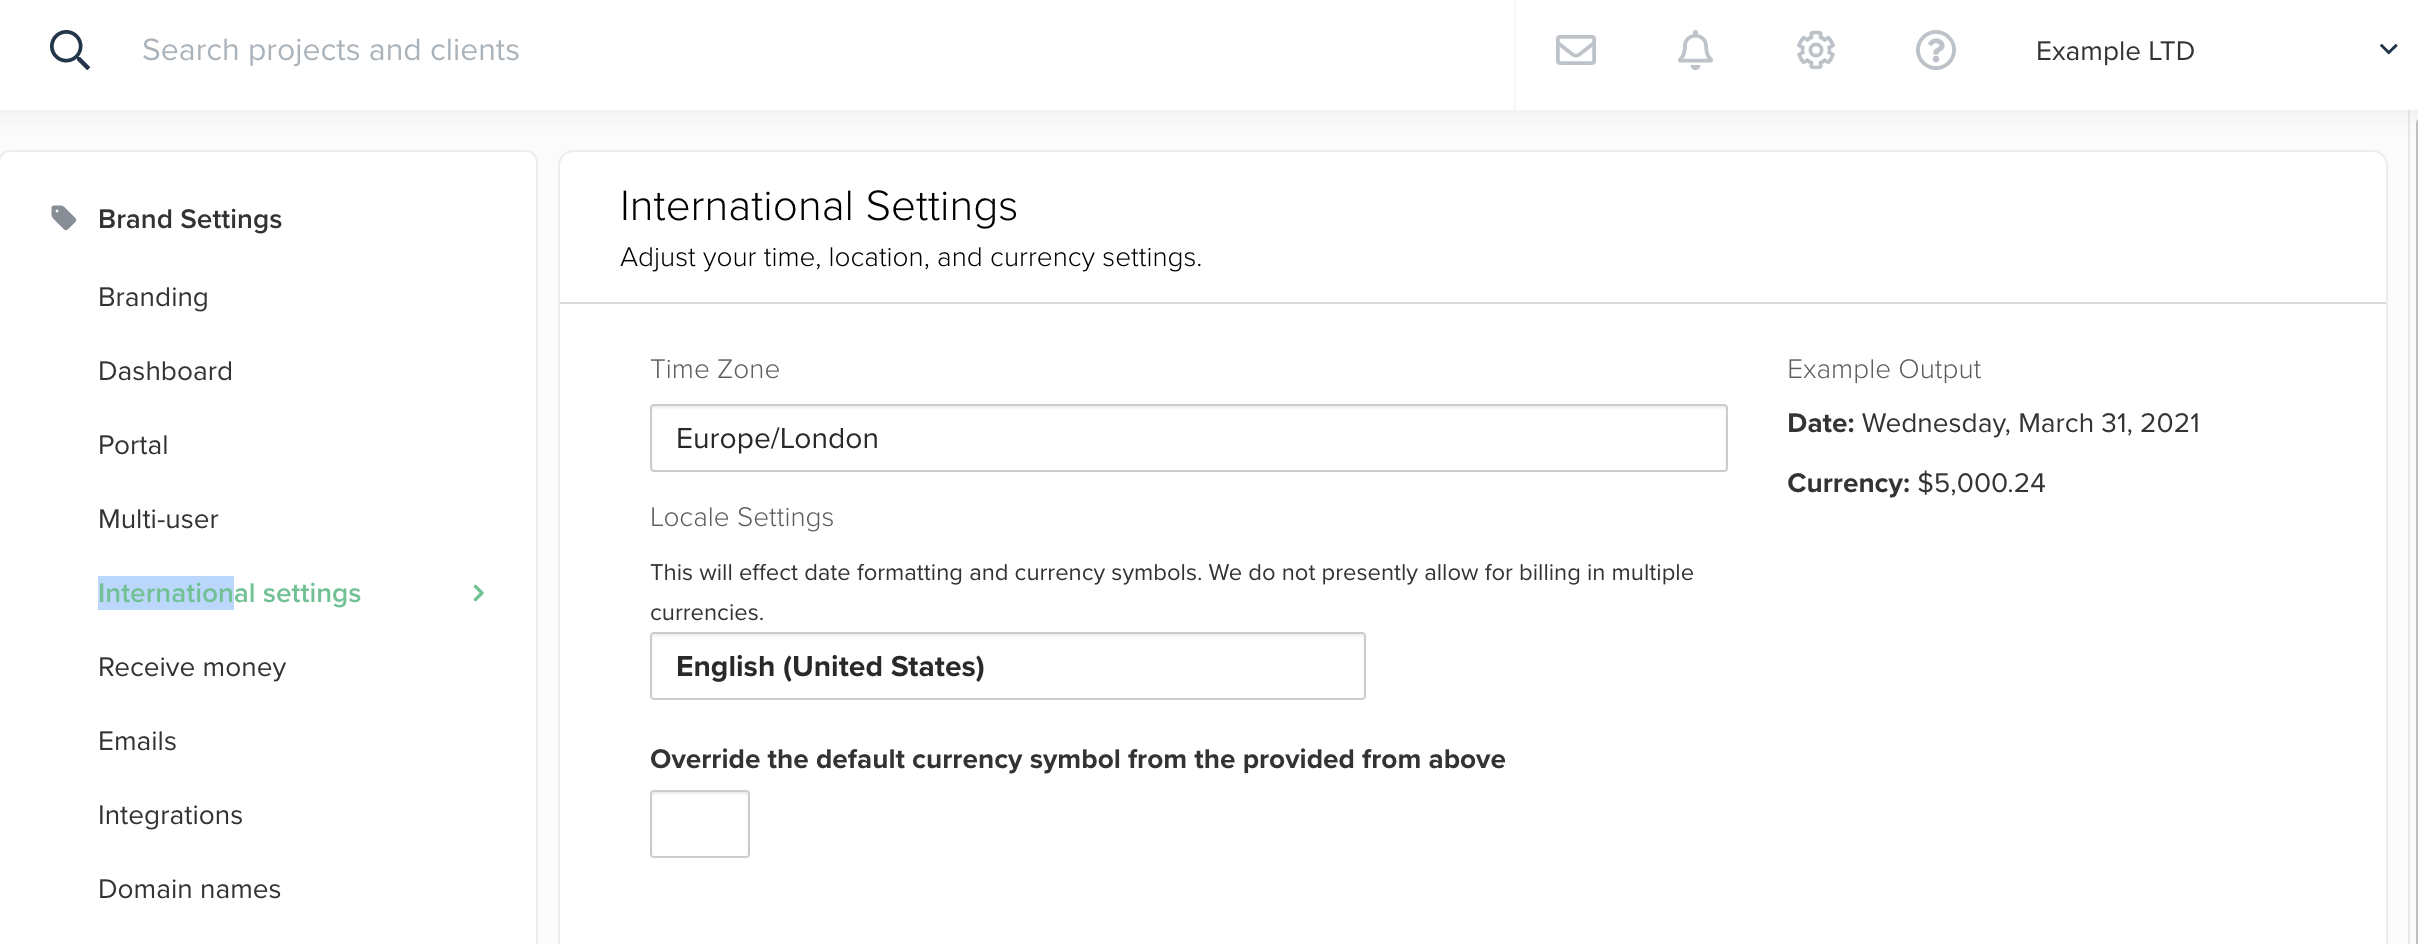
Here you can fill in your timezone and set up the language you want to use.
With the language option, you can select for example English and then between ( ) it states the country. So for example, if you choose English (United States) the $ will be displayed as currency. If you change the language to English (United Kingdom) the £ will be displayed as the currency. On the right-hand side underneath example output, you can see what it would look like.
You can choose to override the currency symbol in case your currency is not displayed.
Once this is set up you can proceed to the Receive money section
Receive Money
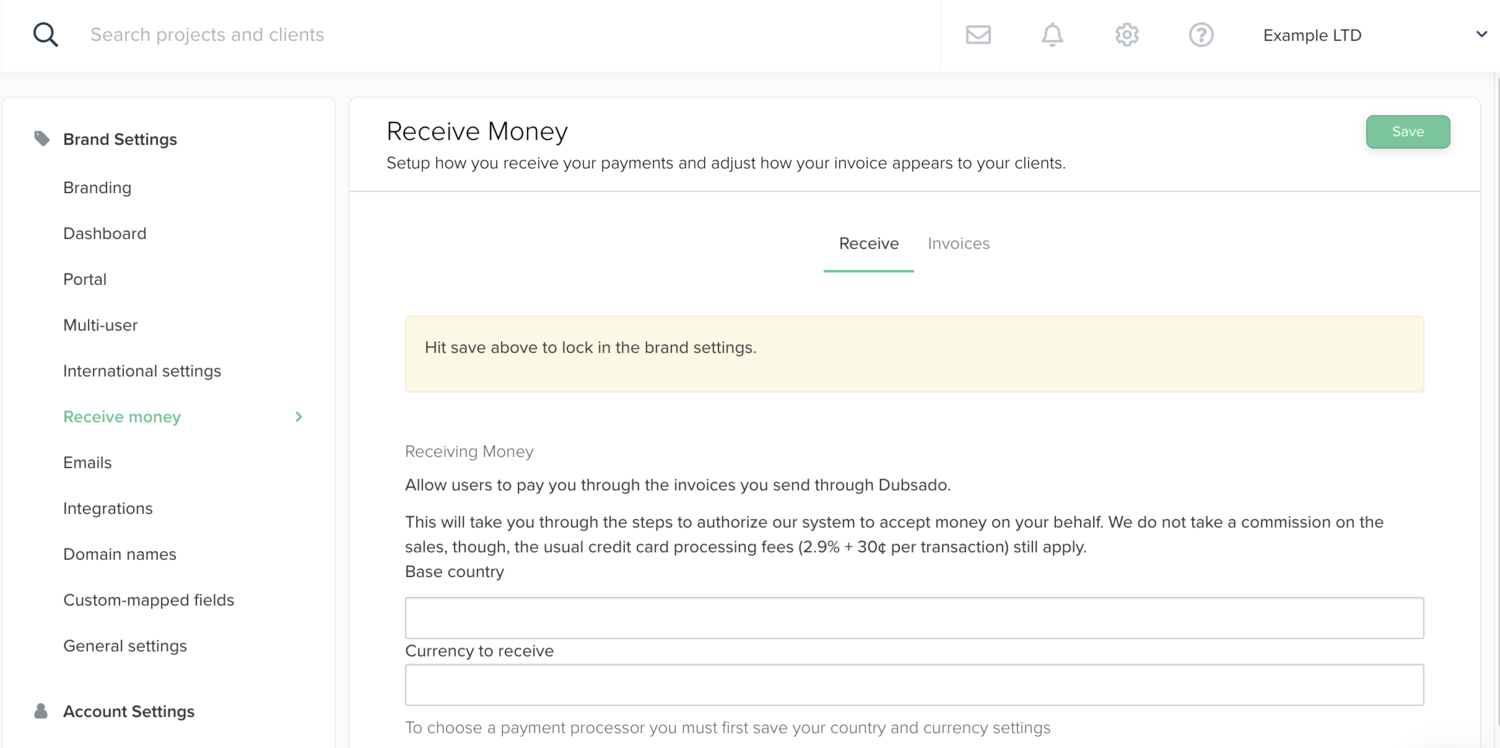
When you want to connect Dubsado to your payment provider (PayPal, Stripe, Square) you do this under the Receive money section.
- The first step is to choose your base country and the currency you want to receive the money in. At this moment it is not (yet) possible to charge in multiple currencies.
- Once you selected the base country and currency and hit the save button you will be able to connect to Square, Stripe and/or PayPal. This can be a bit confusing as in the first instance you don’t see the option to connect to your payment provider. If you do not see this, then you either have not set your international settings or your base country and currency.
- Simply click on the button and follow the prompts on your screen to connect Dubsado with your payment provider.
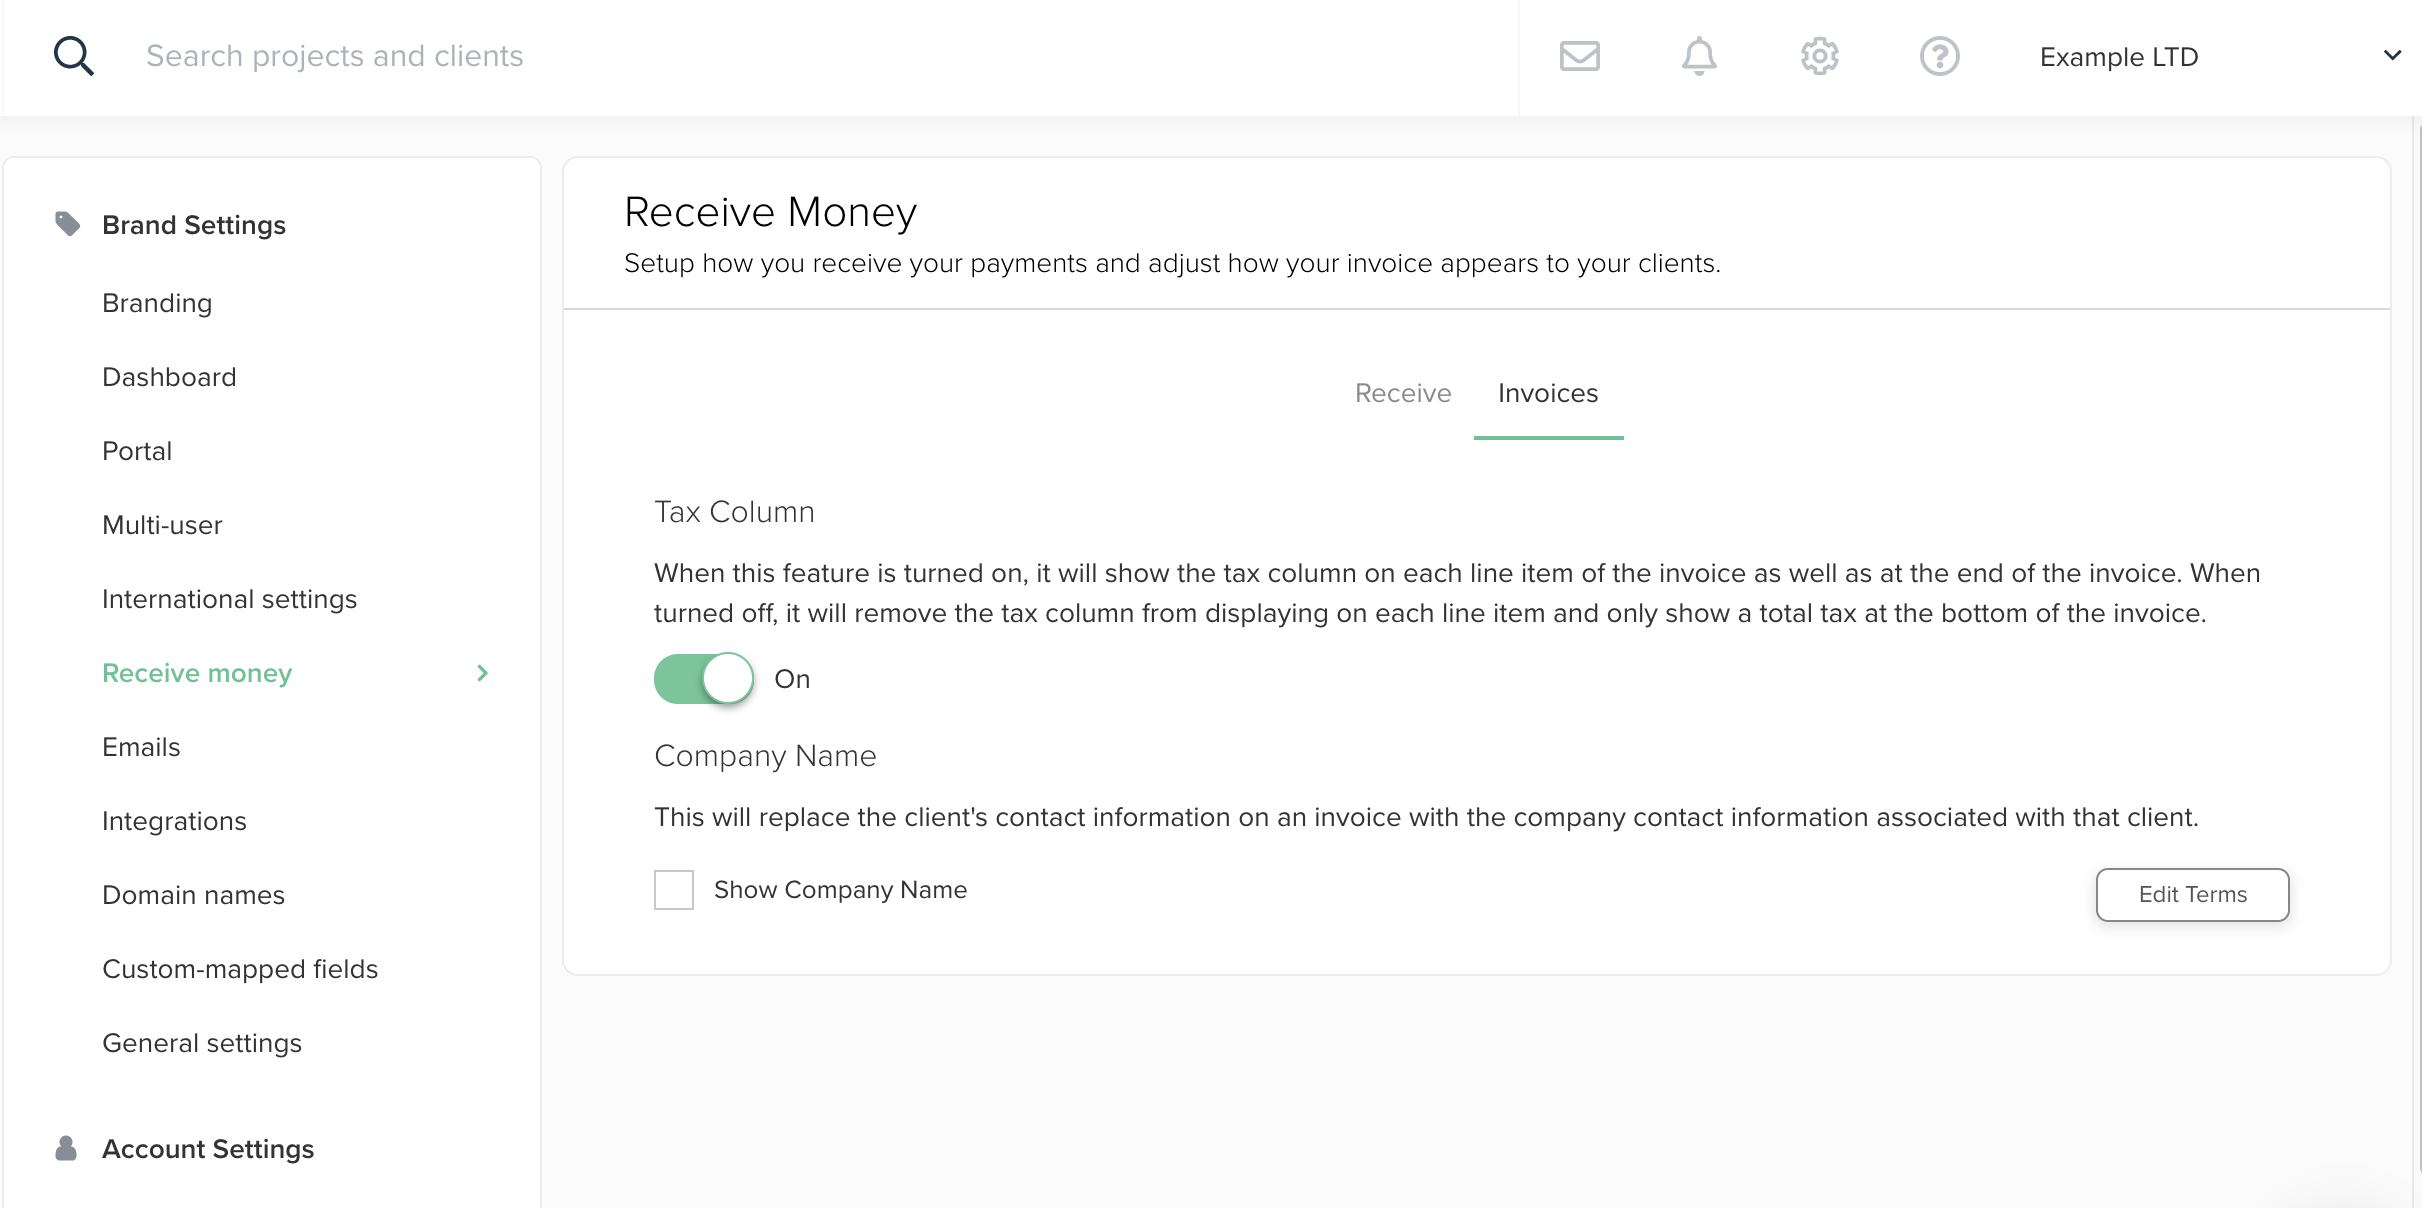
- Under the Invoices section, you can select to show a tax column behind every line on your invoice.
- You can also choose here to show the company name of your client on the invoice instead of the client name this is particularly handy if you work primarily B2B.
With the Edit Terms button, you can add special terms that need to be displayed on top or at the bottom of every invoice. Terms that could be stated here are, for example, payment within 30 days or ways to pay the invoice.
Email settings
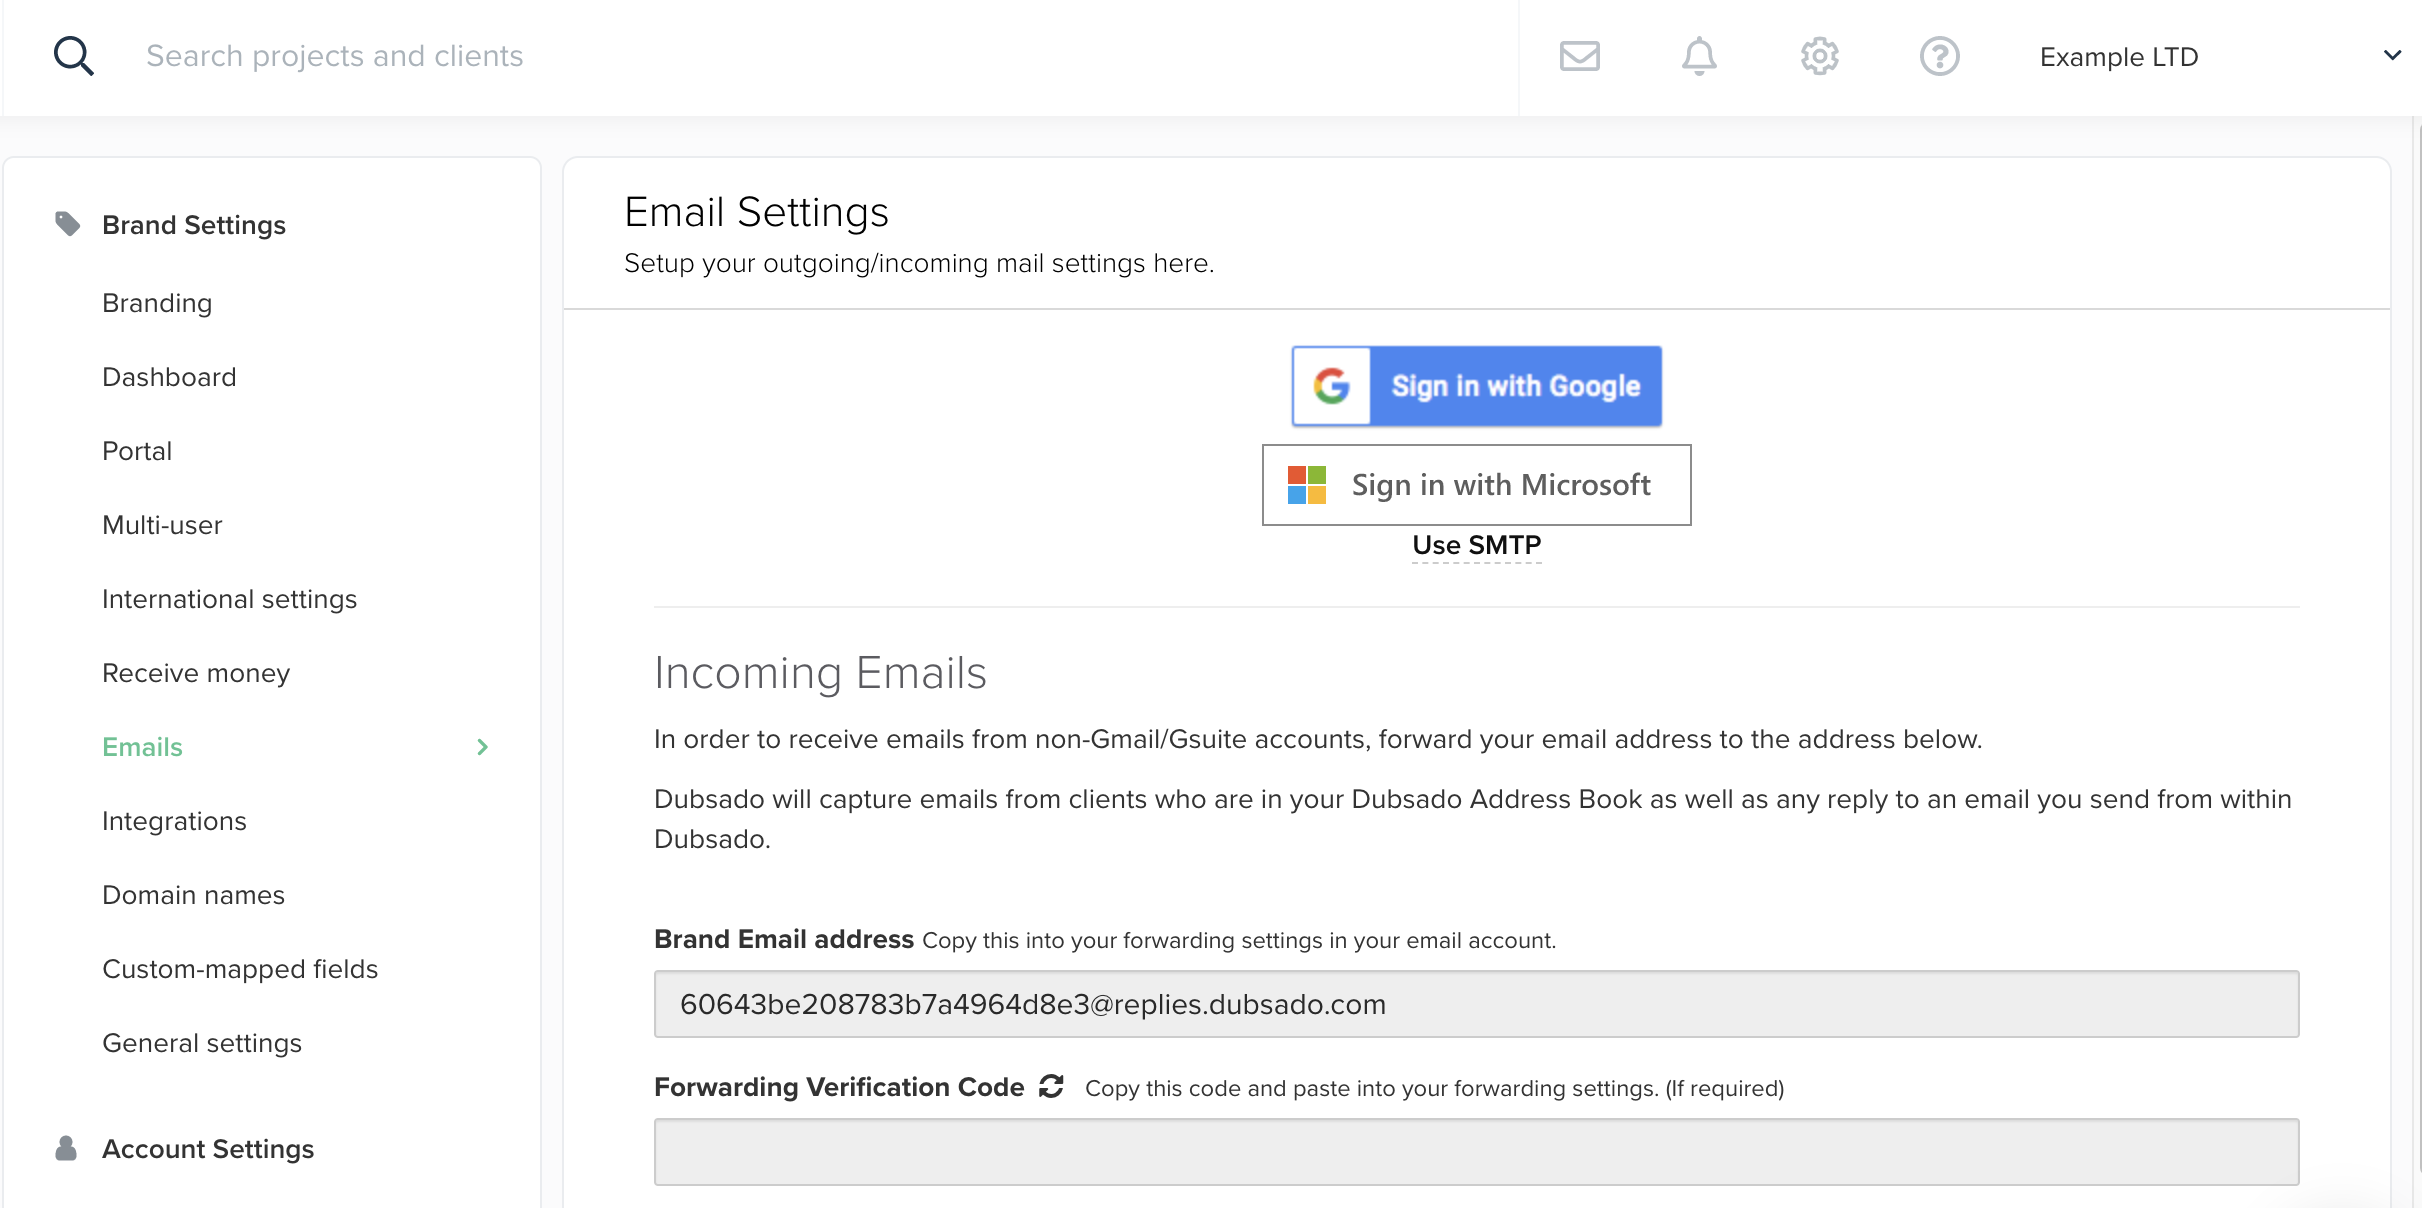
In the email section, you can connect your email provider to Dubsado. This is a necessary step if you want to use the automated workflows because Dubsado will send emails on your behalf.
- To connect your Google or Microsoft email just click the button and follow the instructions.
- With the tracking pixel, you can track your emails within Dubsado and see if your emails, forms, proposals and contracts are opened.
Integrations
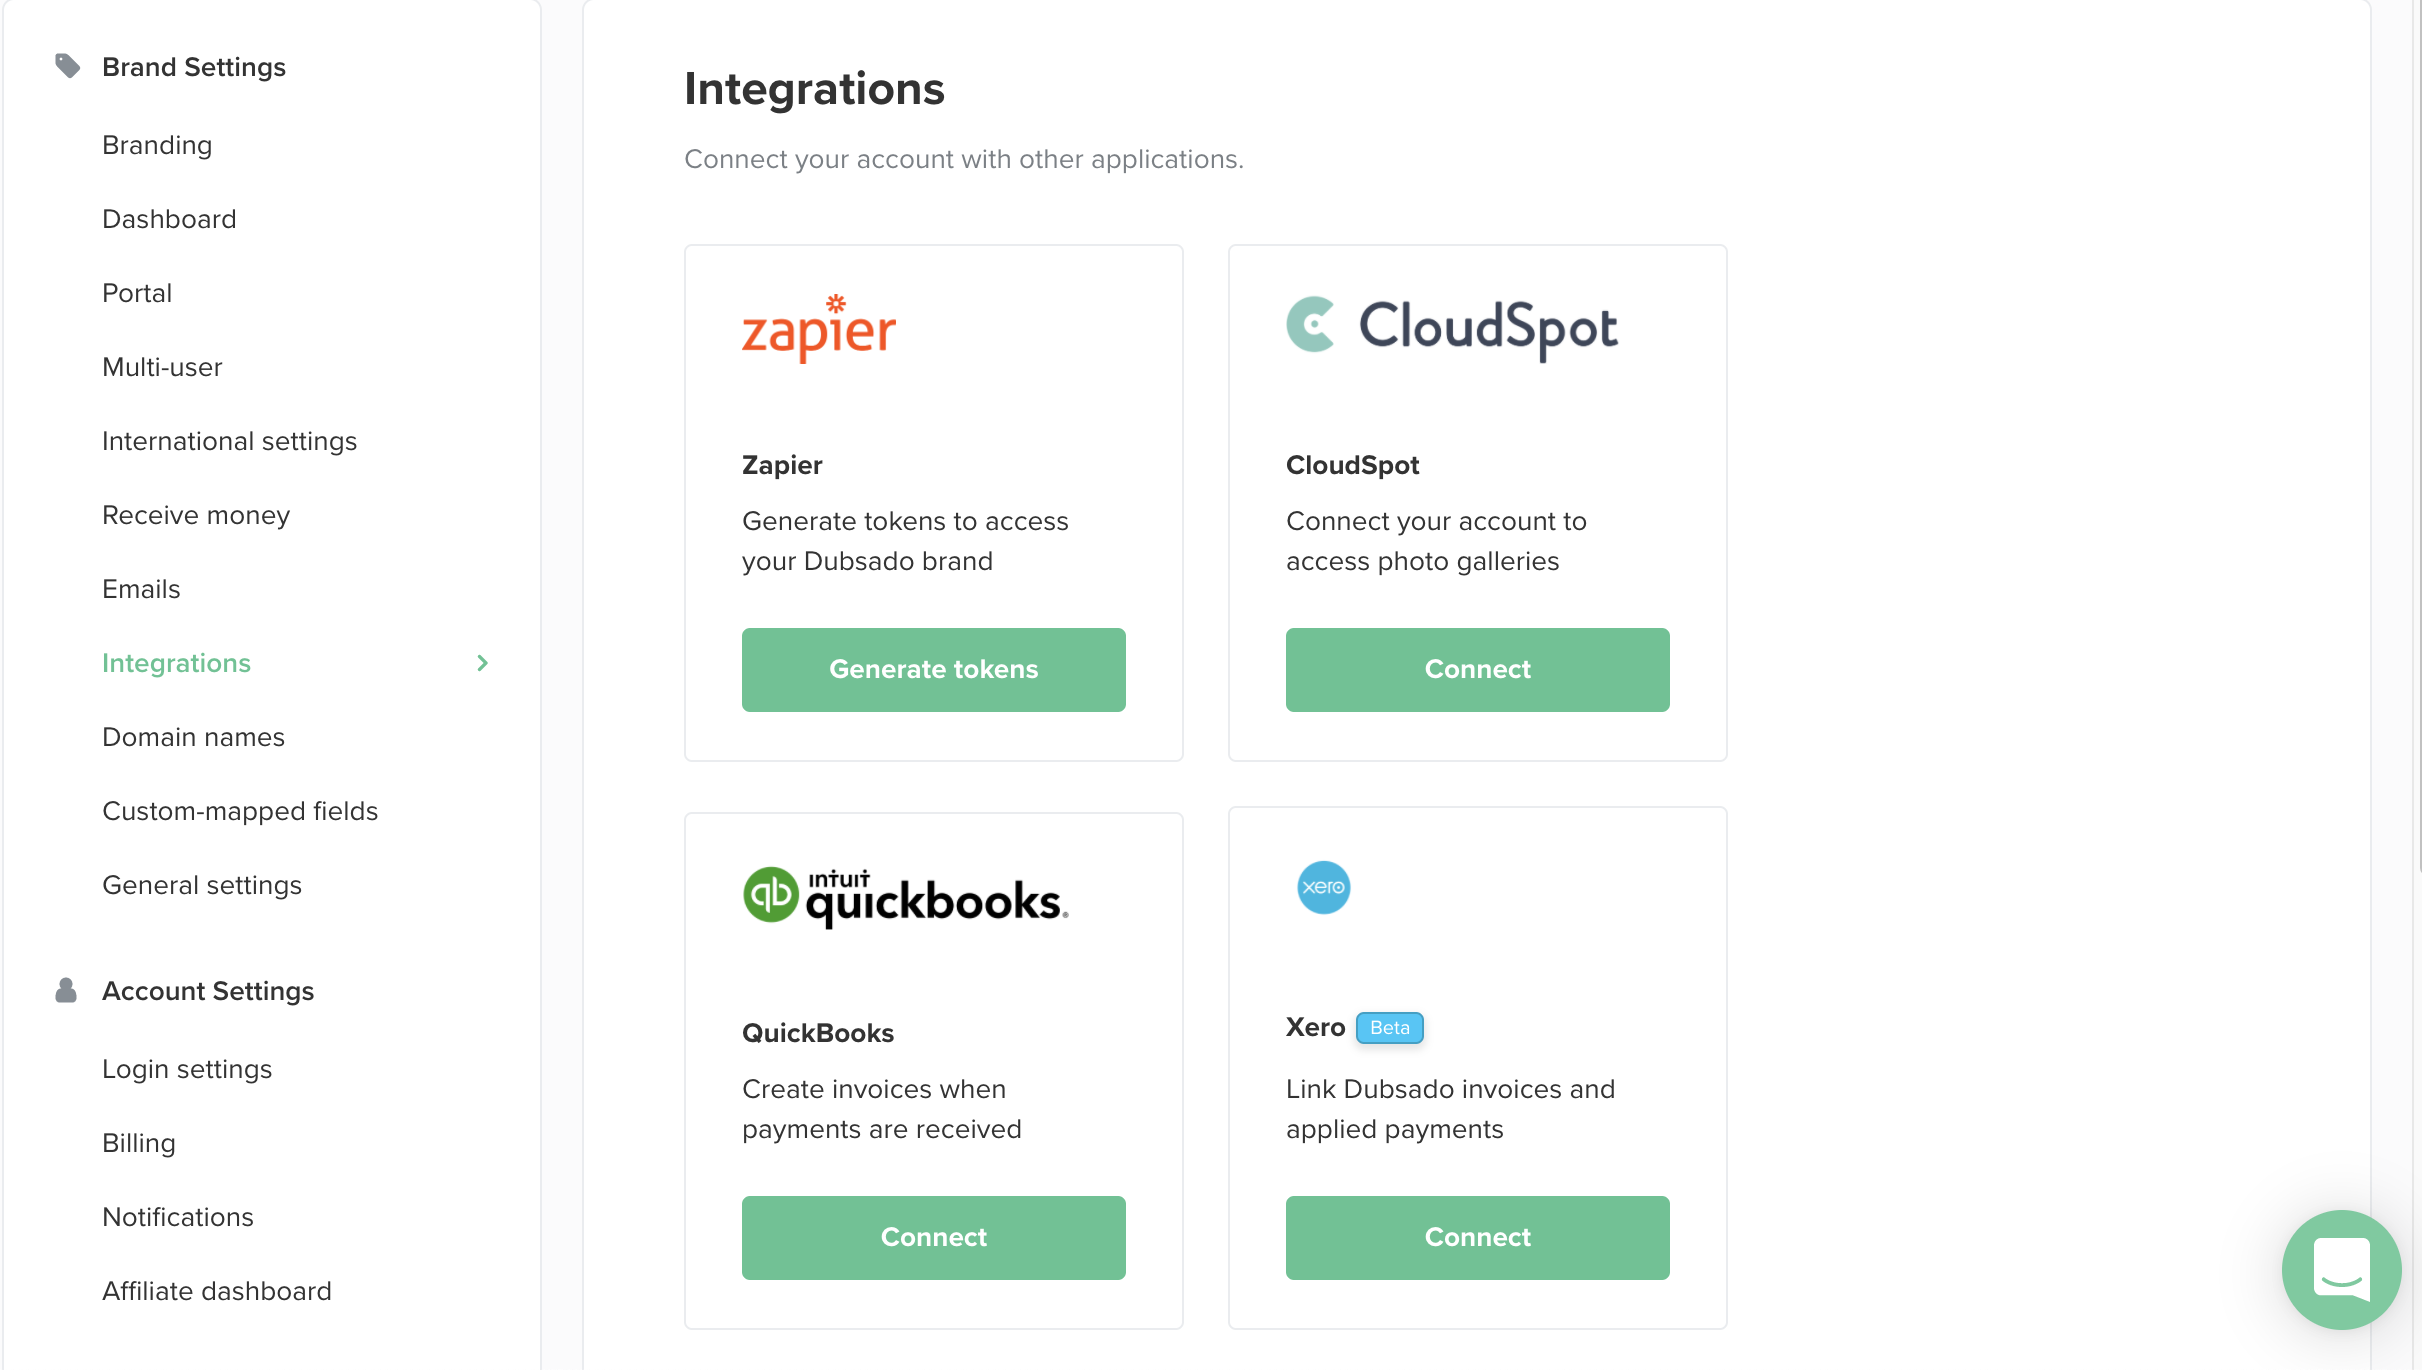
- In the Dubsado integrations section, you can connect Zapier, Cloudspot, Quickbooks, Xero or one of the conference tools (8×8, Google Meet, Zoom, Microsoft Teams, and GoToMeeting)
- To integrate any of these programs with Dubsado just click on connect and follow the prompts to connect the accounts.
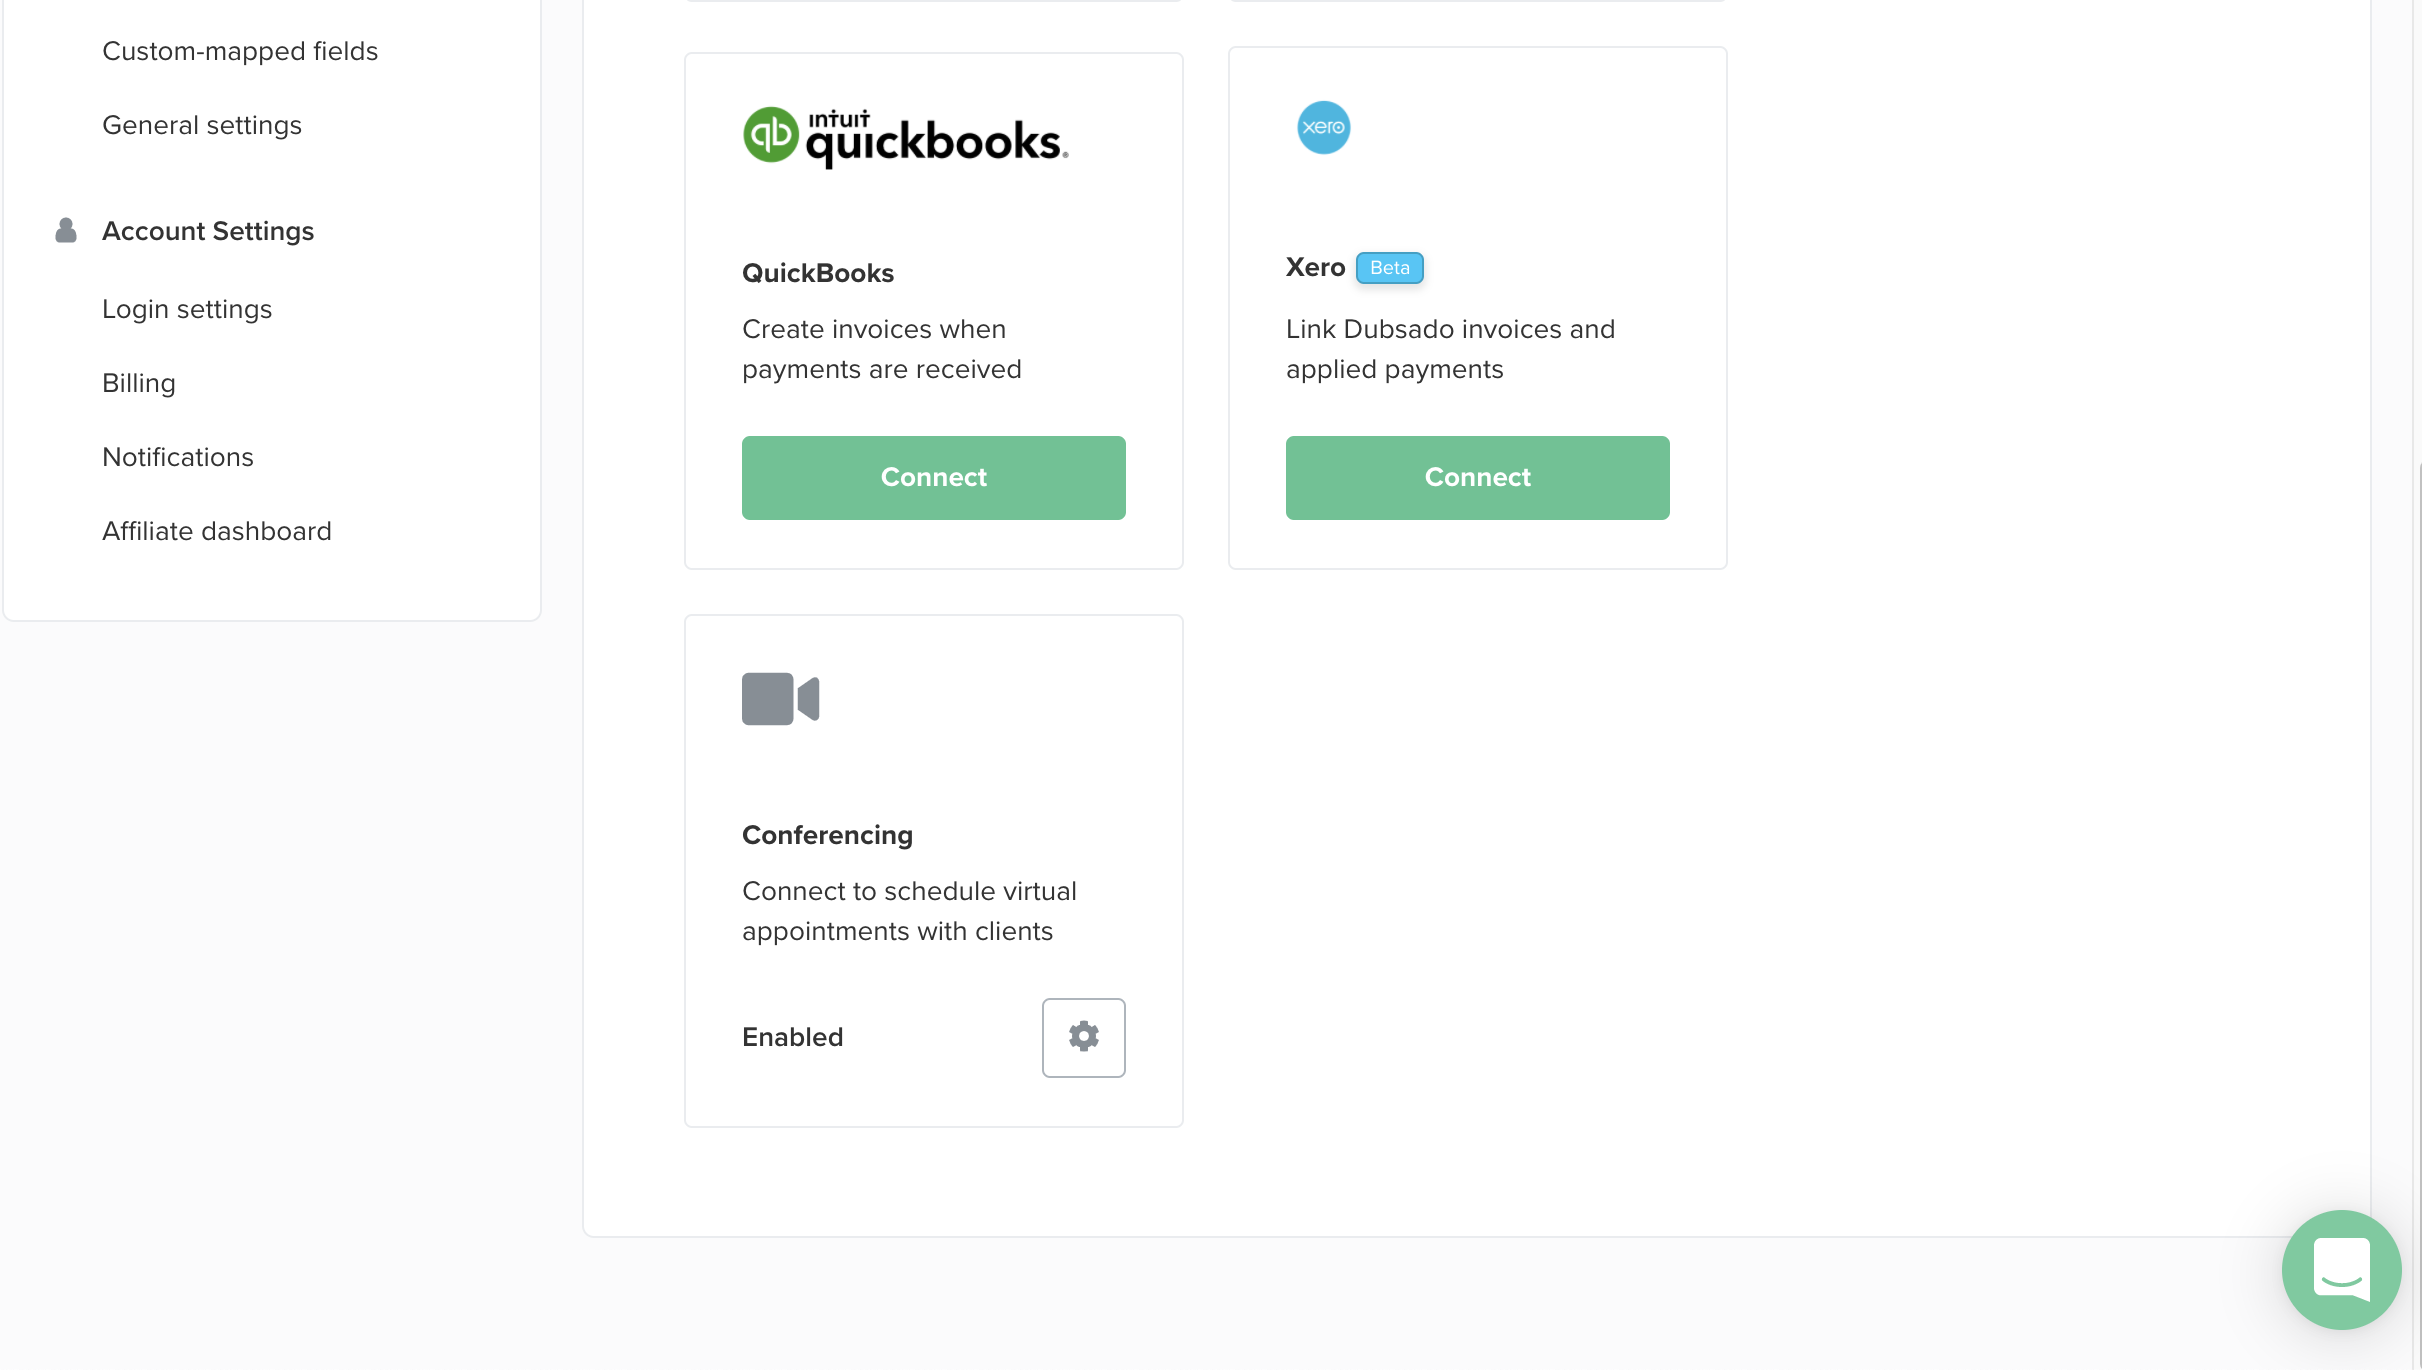
If you want to use the scheduler within Dubsado I do recommend setting up the conferencing tool you use as this will need to be connected with your scheduler to be able to send a scheduling link.
-
To connect with your conferencing program Dubsado uses Cronofy to act as the connector between Dubsado and the conferencing program for example Zoom. When you click on enable you will start the process to create a Cronofy account before you can connect your conferencing program.
Domain Names
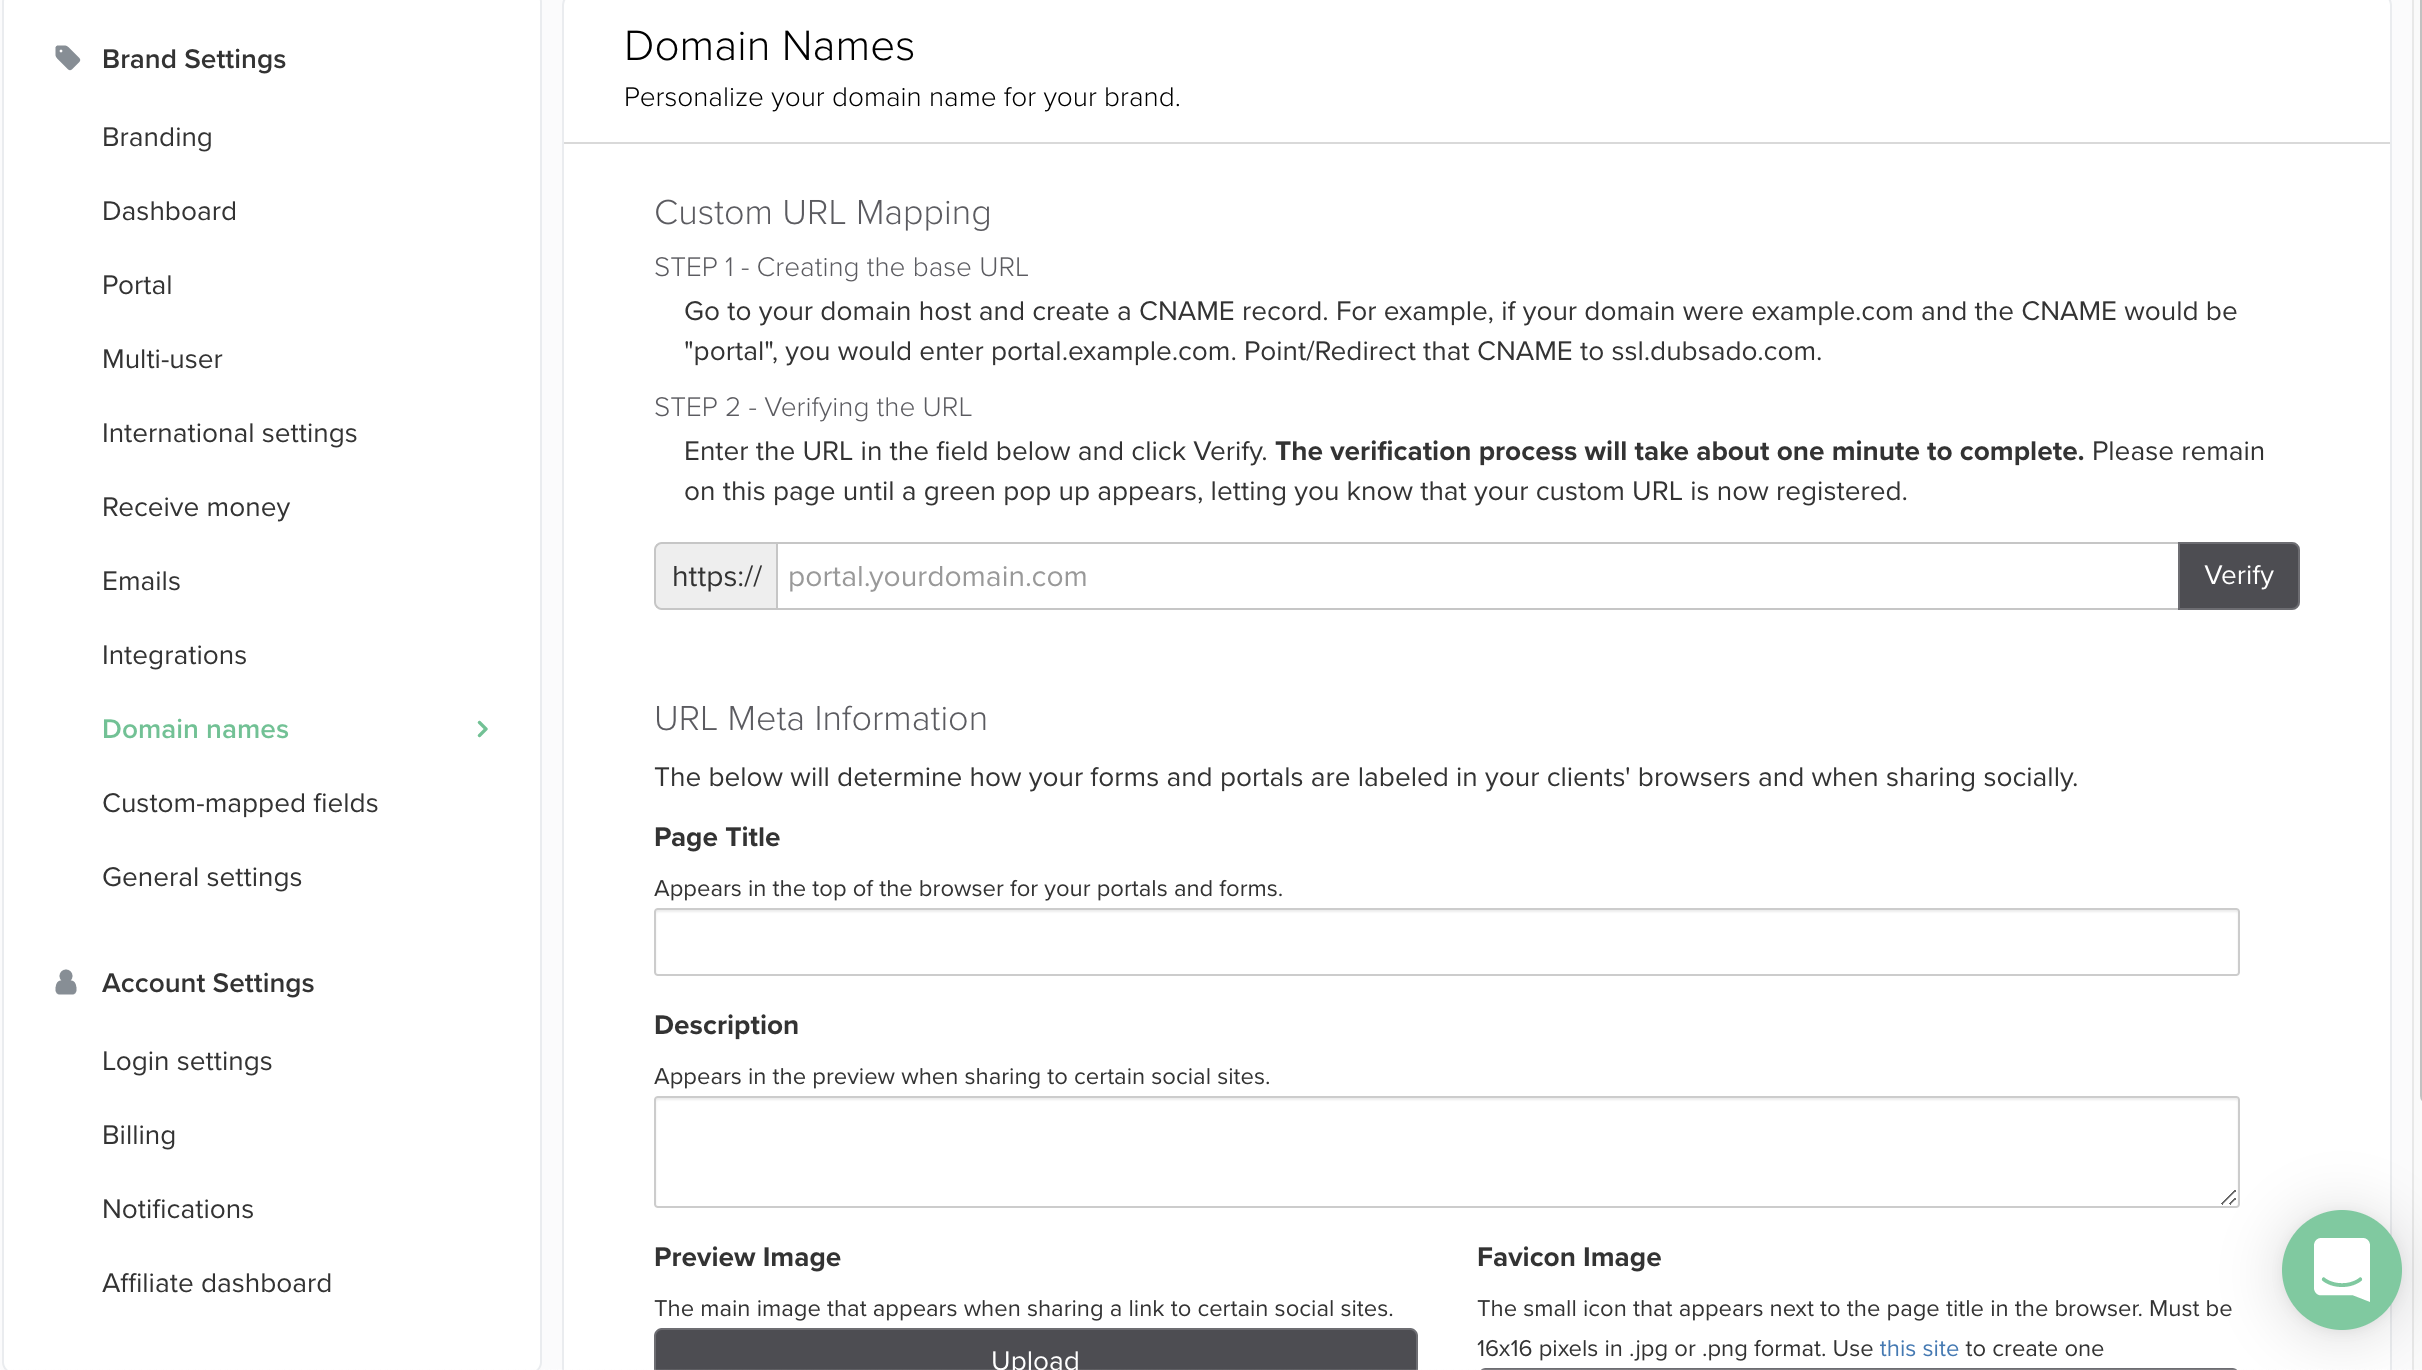
- In this section, you can set up a custom URL for your Dubsado Client Portal and forms. As the steps will depend based on the website platform that you are using I would recommend following the steps as outlined in this article from Dubsado.
- In the URL Meta Information section you can change:
-
-
The page title: The title you want to show in the browser tab. If you don’t change it, it will say Dubsado CR for Creatives so I would advise adding your business name here.
-
Description: certain social media like Facebook shows a preview when you share a link. What you write in the description is what will appear. Keep it short and general to your business as a whole as it will be applicable to every link in Dubsado that you want to share.
-
Preview Image: certain social media like Facebook shows an image preview when you share a link the image size is best as 1200 x 630 pixels in JPG format and under 5 MB. for loading it is best to keep it under 500kb.
-
Favicon Image: the Favicon is the image that appears next to the page title. A favicon is usually a variation of your logo with a size of 16 x 16 pixels and can be either a JPG or PNG format. For brand consistency, I would advise using the same favicon as you use for your website.
-
Below you see an example of a filled-in Page Title and favicon (right) and when it is not filled-in (left).
Custom Mapped fields
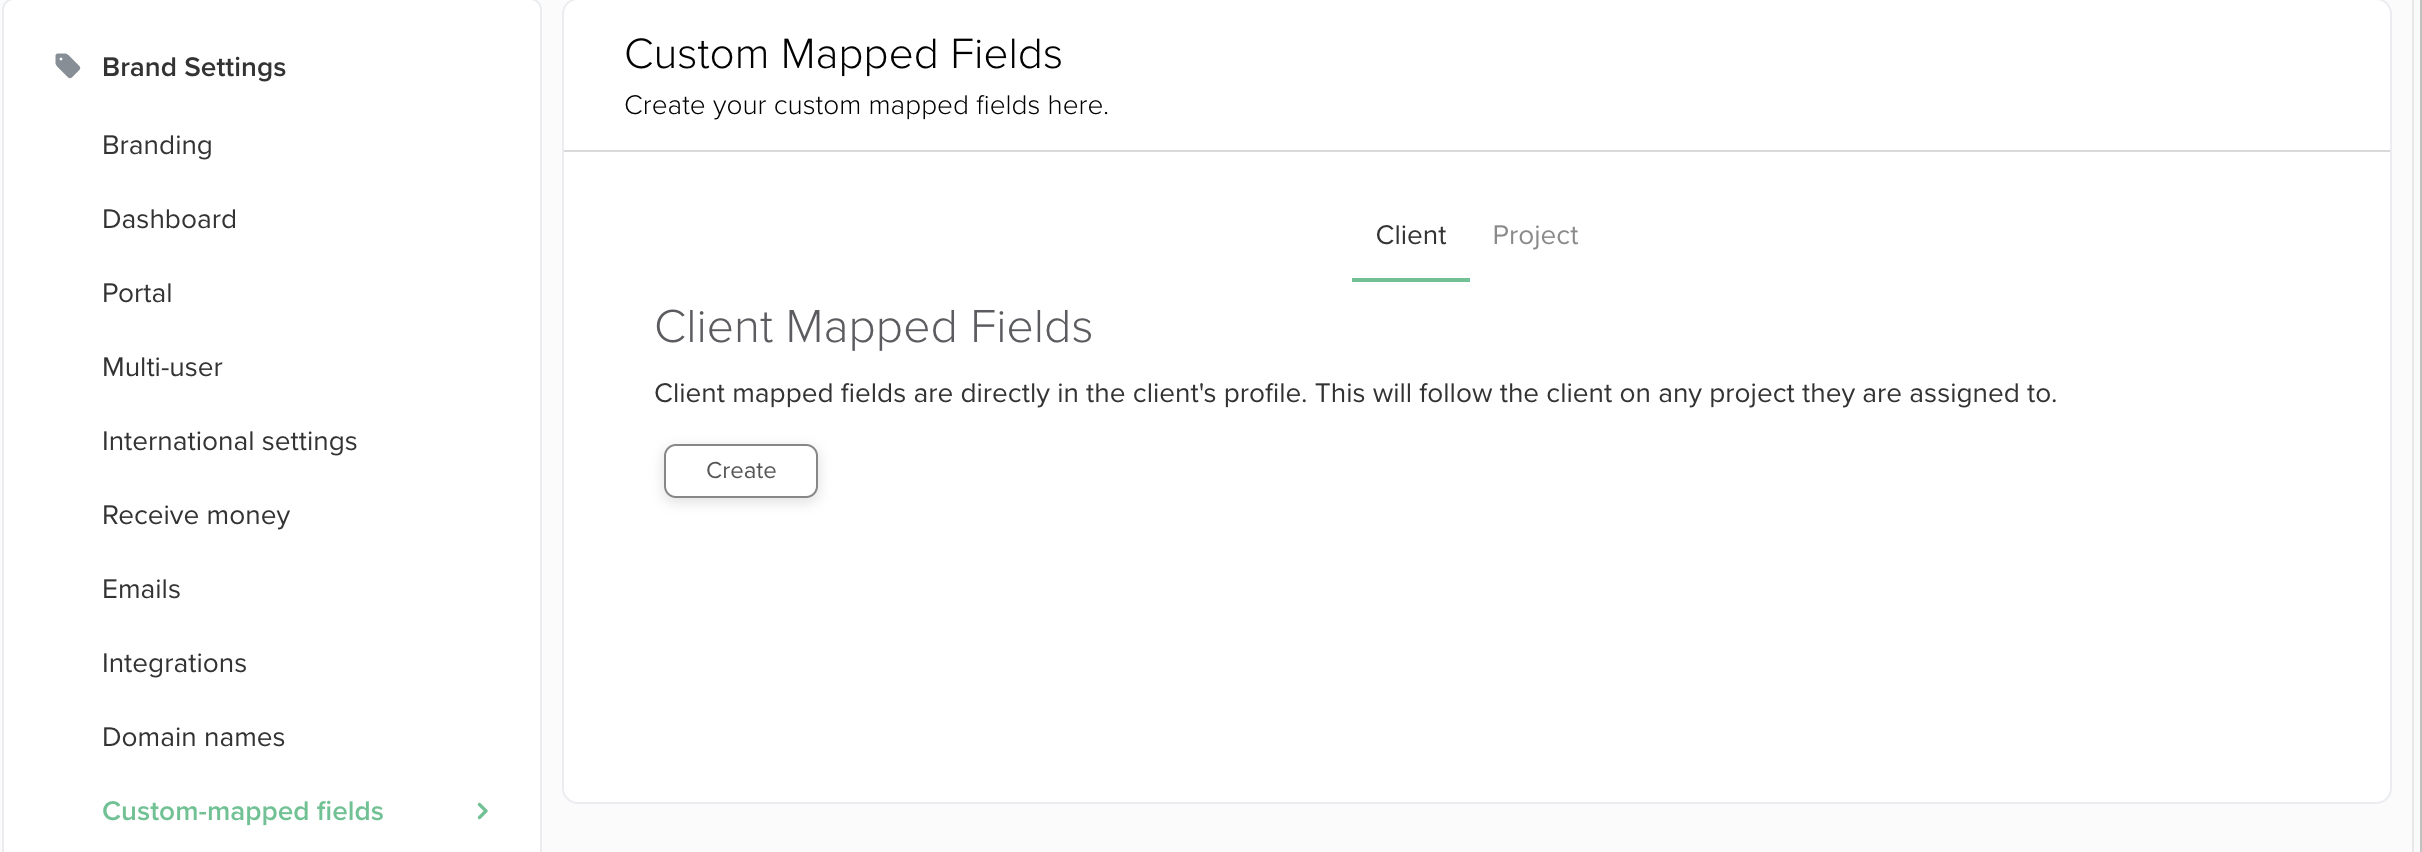
- The Custom Mapped Fields section is used when you need specific information to be displayed in an email or form using a smart field. Dubsado itself have created already several smart fields for example the First name, Last name of the client or the invoice total. However, it can be that the smart fields are insufficient and you need to create an additional one.
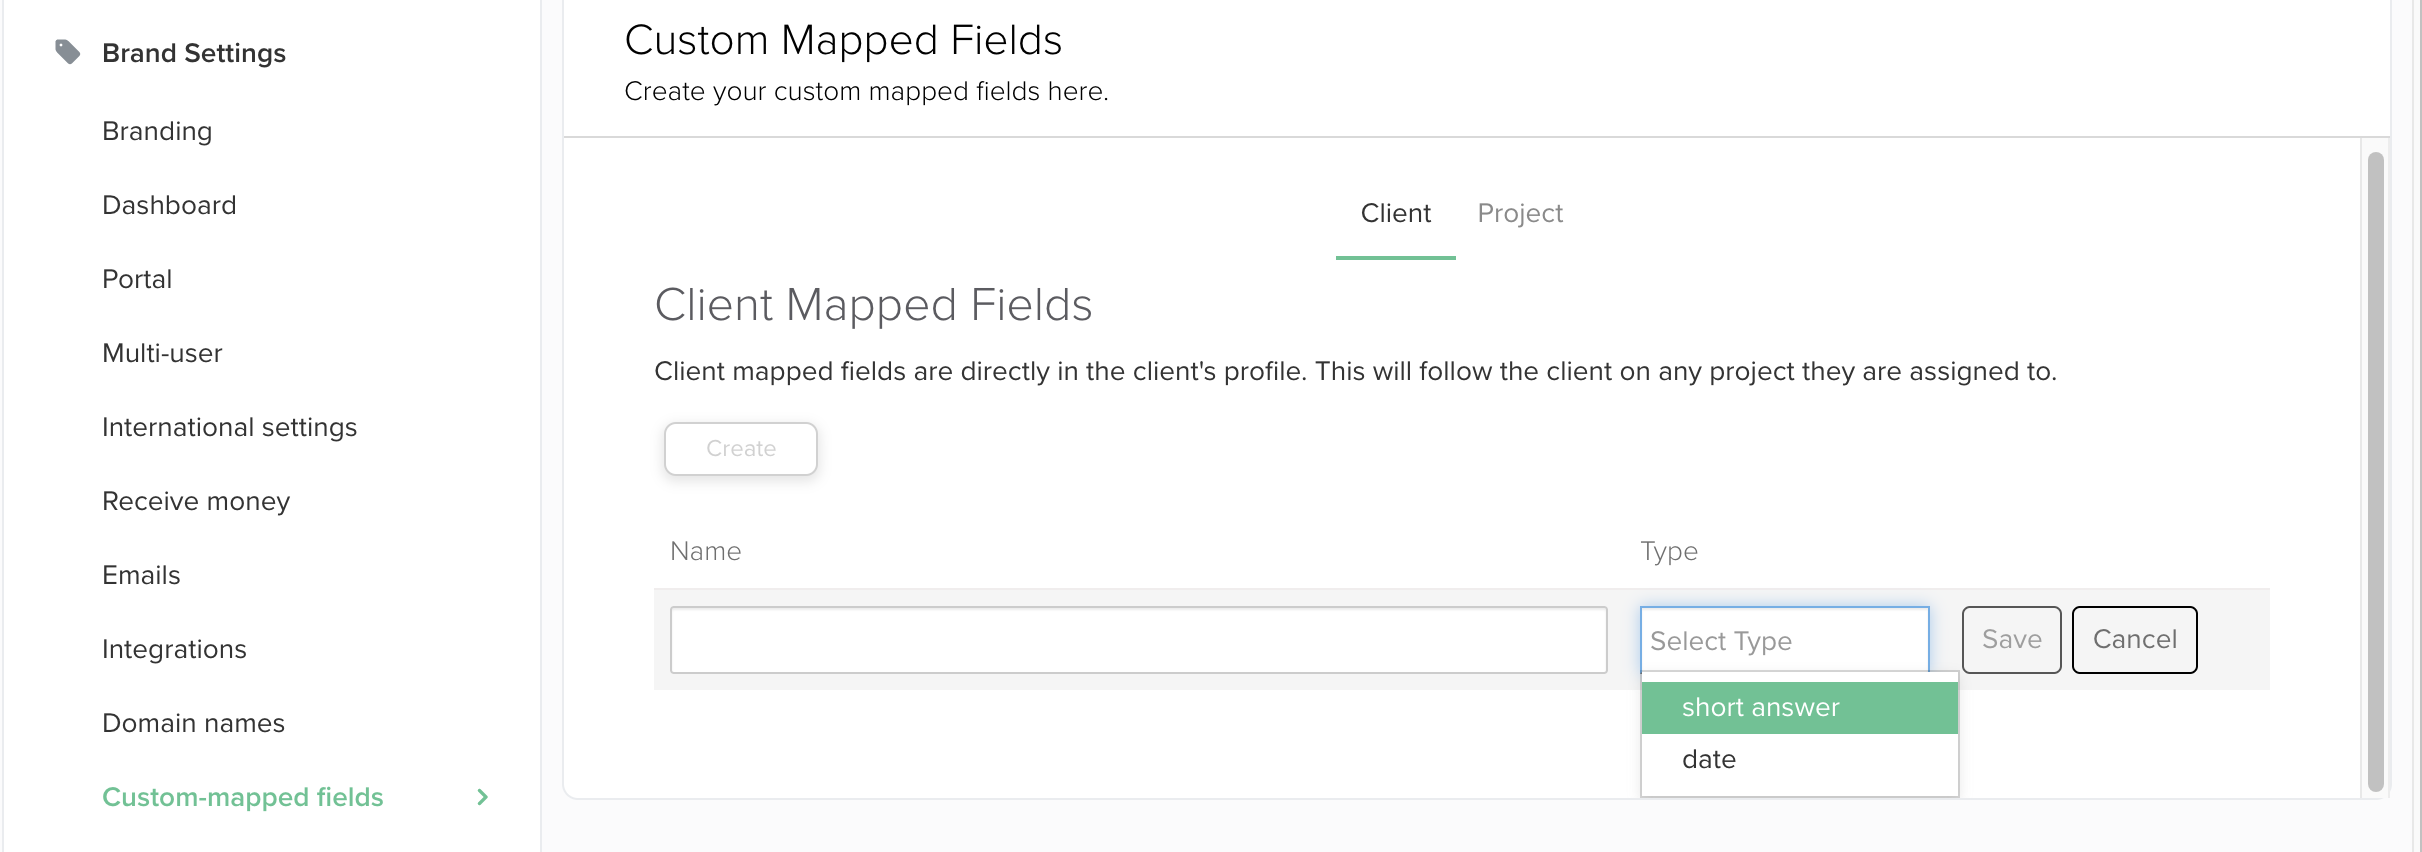
- For example, if you’re a Wedding Photographer and you need to have the details of the wedding couple that the couple needs to fill in on a form that you created with Dubsado, it would be an option to use the existing fields ‘client name’ and ‘alternative name’. But if you also need to know the best man’s and maid of honour’s name you don’t have any mapped field to attach this to. This is where the Custom Mapped Fields come in. You can create a smart field for the best man’s name and maid of honour’s name. Once created you can assign them to a short answer question in your forms.
You can create a Custom Mapped Field for a client or only for a project.
-
Simply click on Create and fill in the description and select the type of question it will be mapped to, this can be either a short answer question or a date. Once you have selected this, you can click on save and the custom mapped field is created and ready to use.
General settings
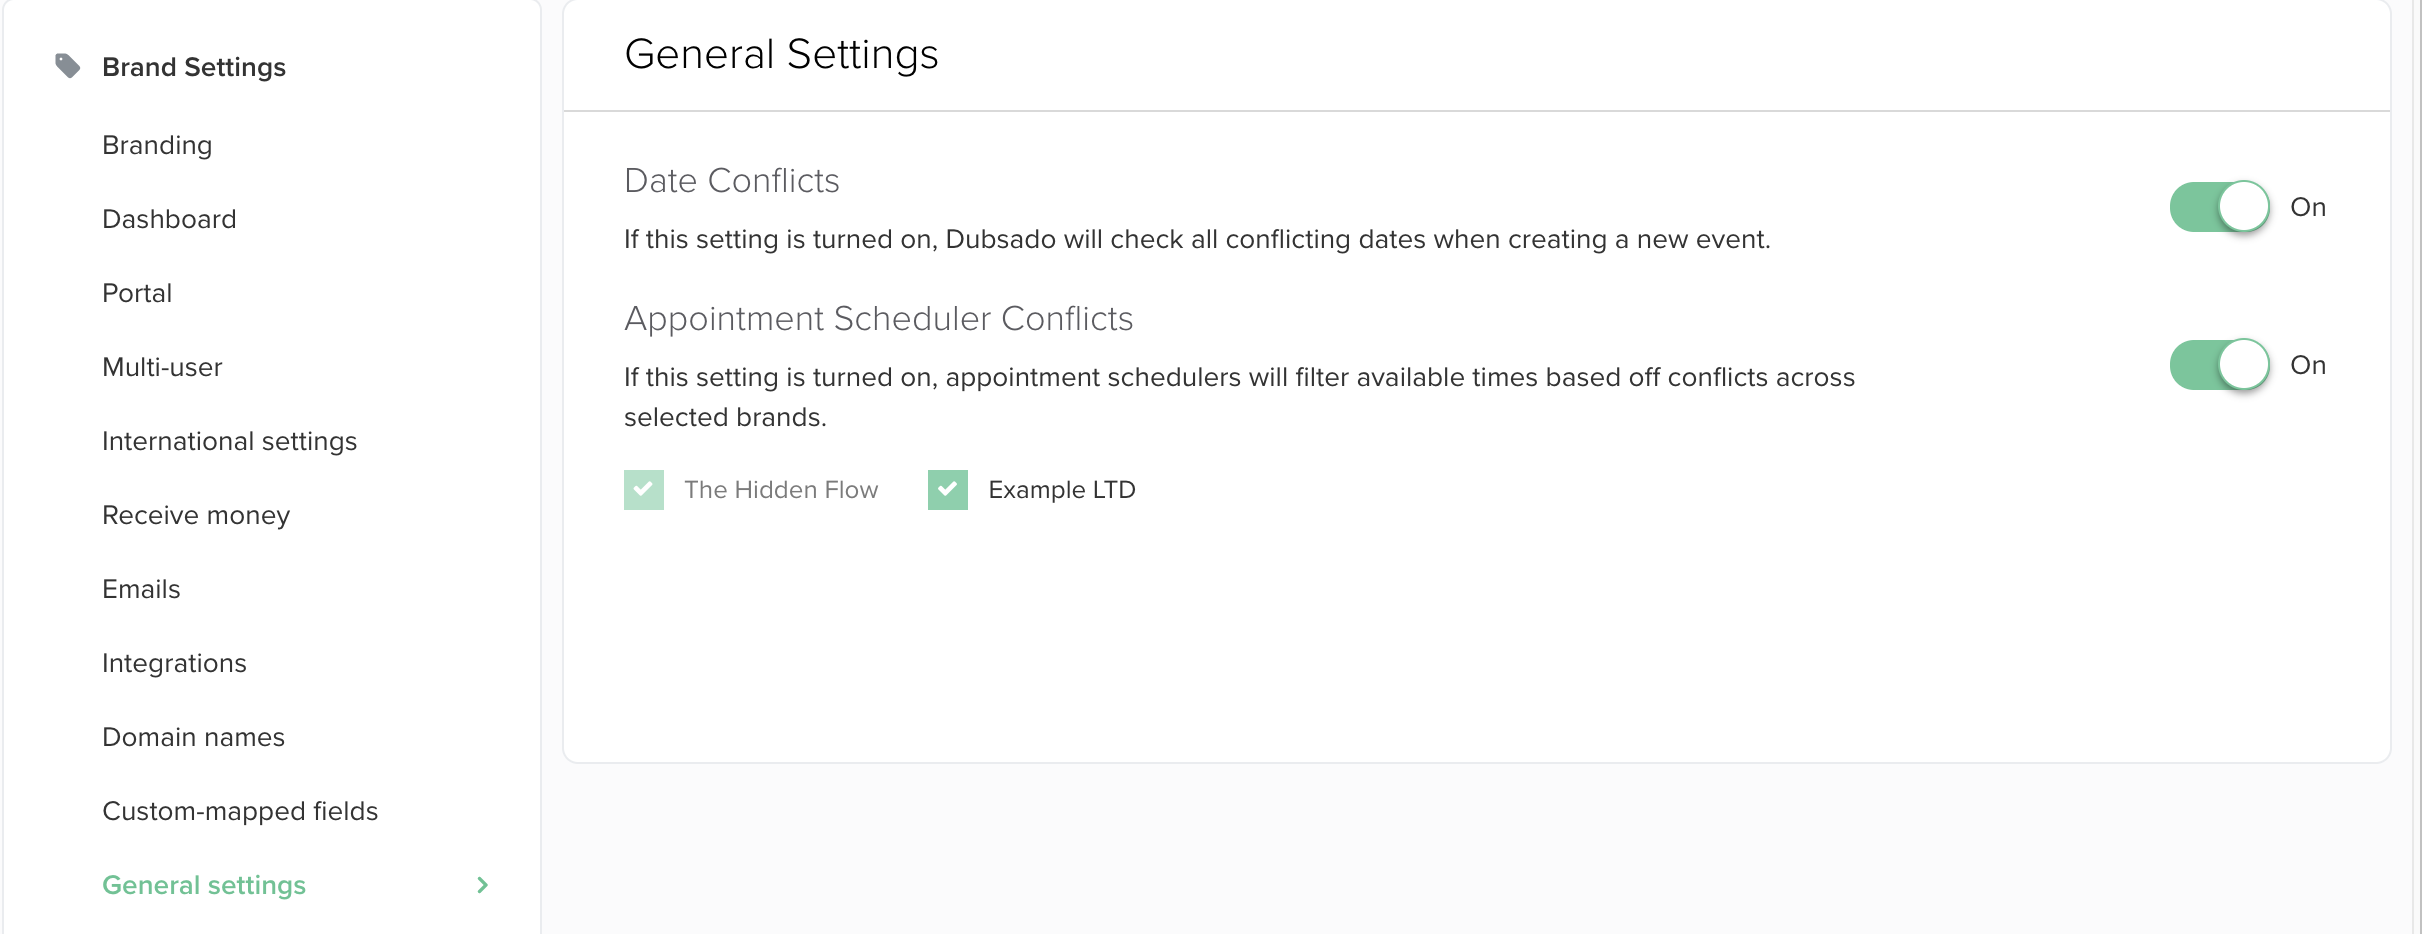
In the general settings you can select if you want Dubsado to check if there is a date conflict when a new event or appointment is scheduled. If this is selected Dubsado will warn you when you try to make an appointment or event that is at the same time as another appointment in your calendar.
ACCOUNT SETTINGS
Login Settings:
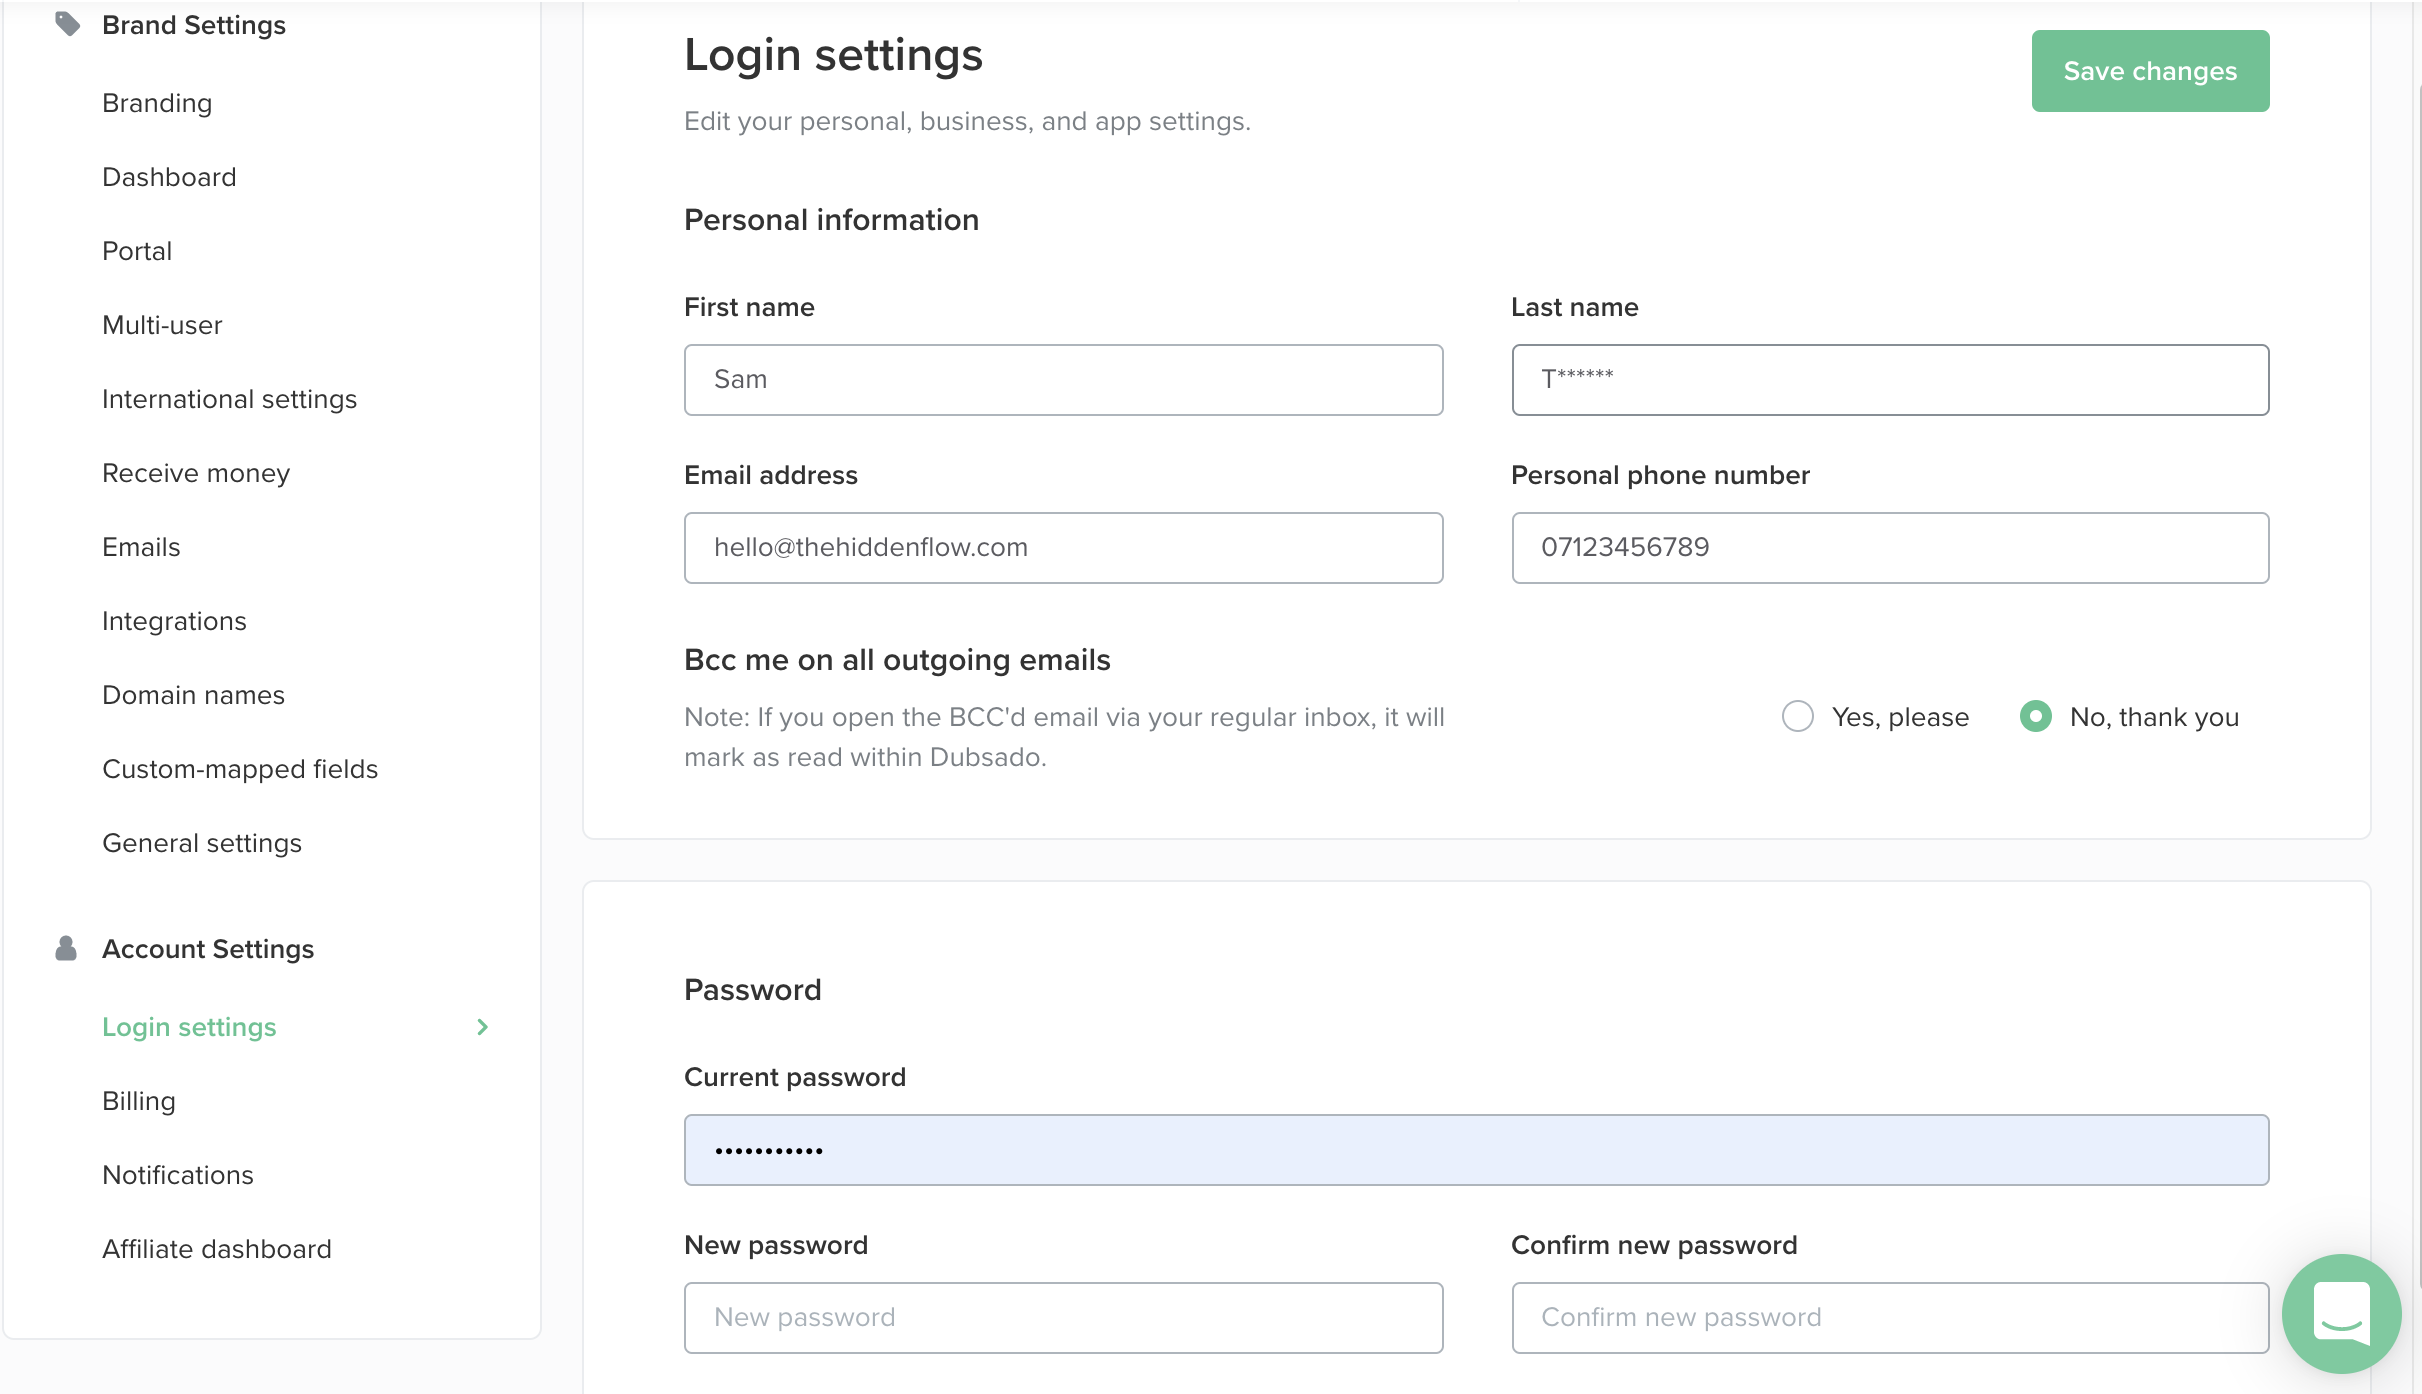
- In the Login Settings, you can set up your name, email address and personal phone number.
- If you want to be BCC’d on all outgoing email you can tick the Yes, please box. Just be aware that if you open this email in your own inbox it does impact the last viewed section. So it might be that you opened the email instead of your client.
- If you want to update your password, you can do that here as well.
Billing:
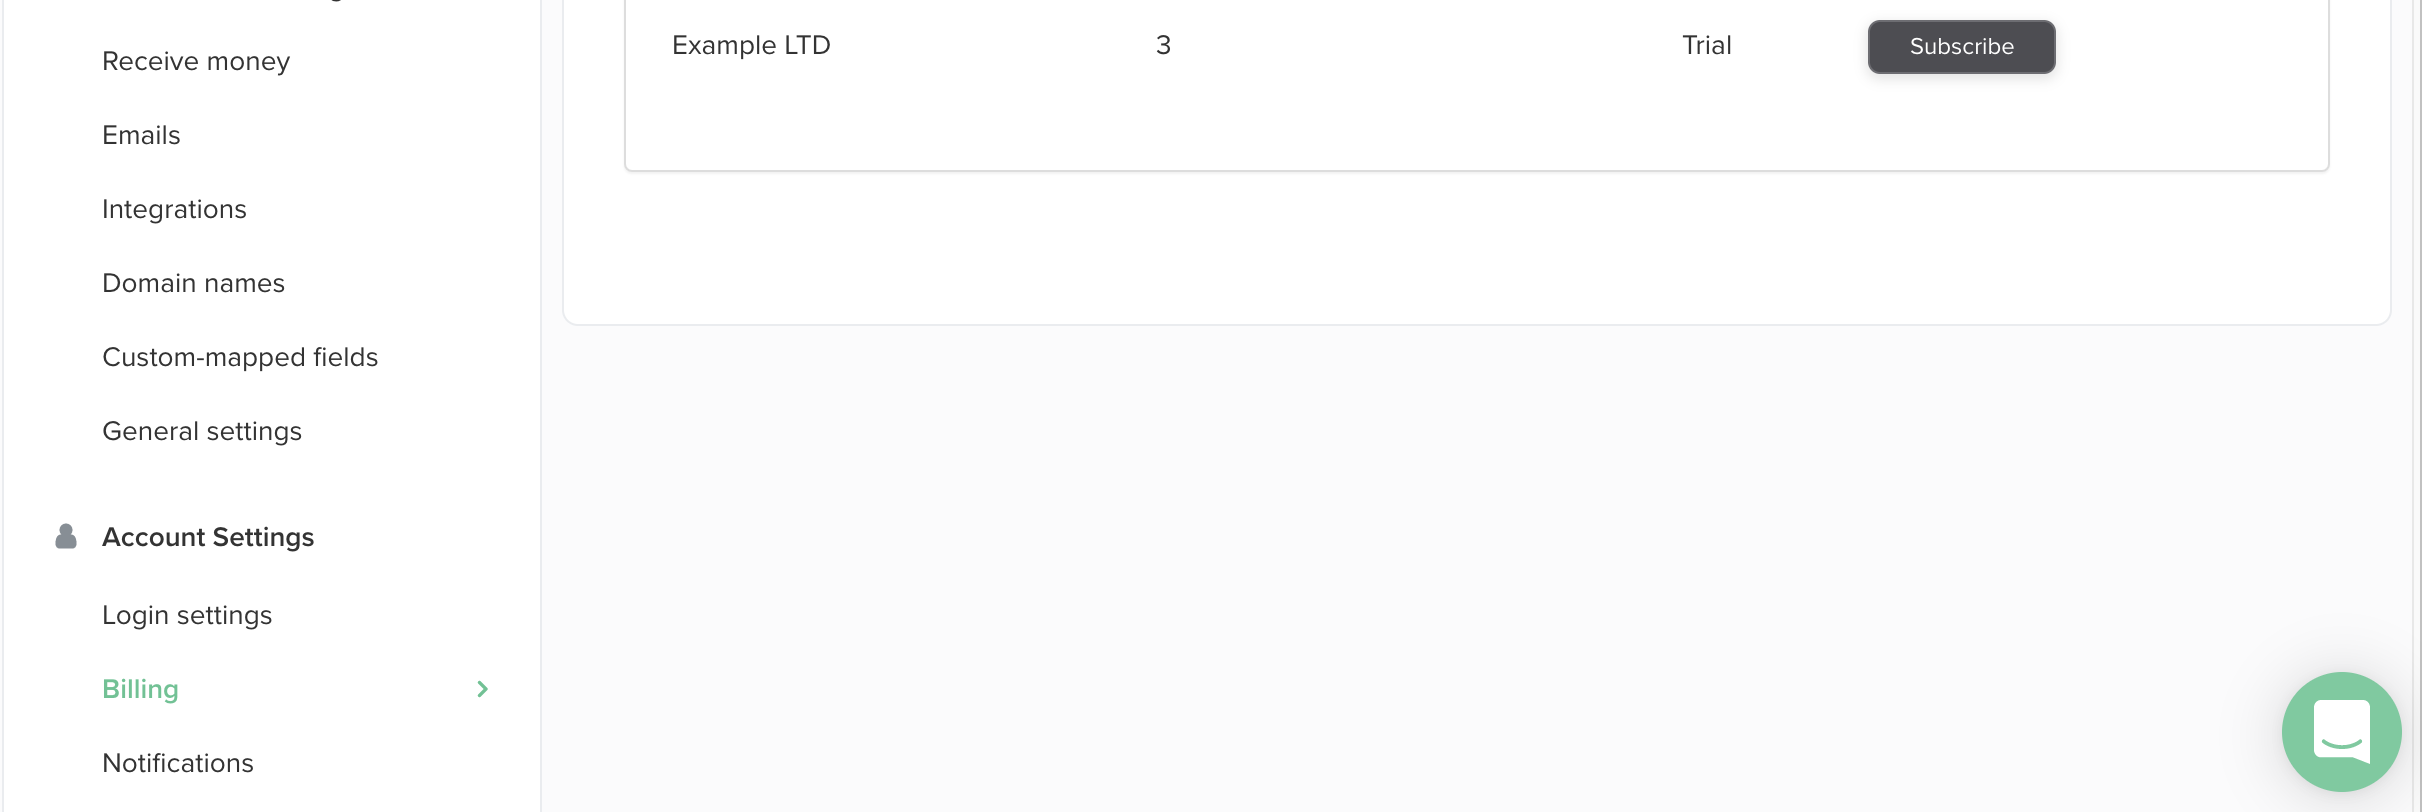
In the billing section you can view and change your Dubsado plan and update your payment information. If you are on the trial you can see how many clients you have remaining before you need to start paying.
Notifications:
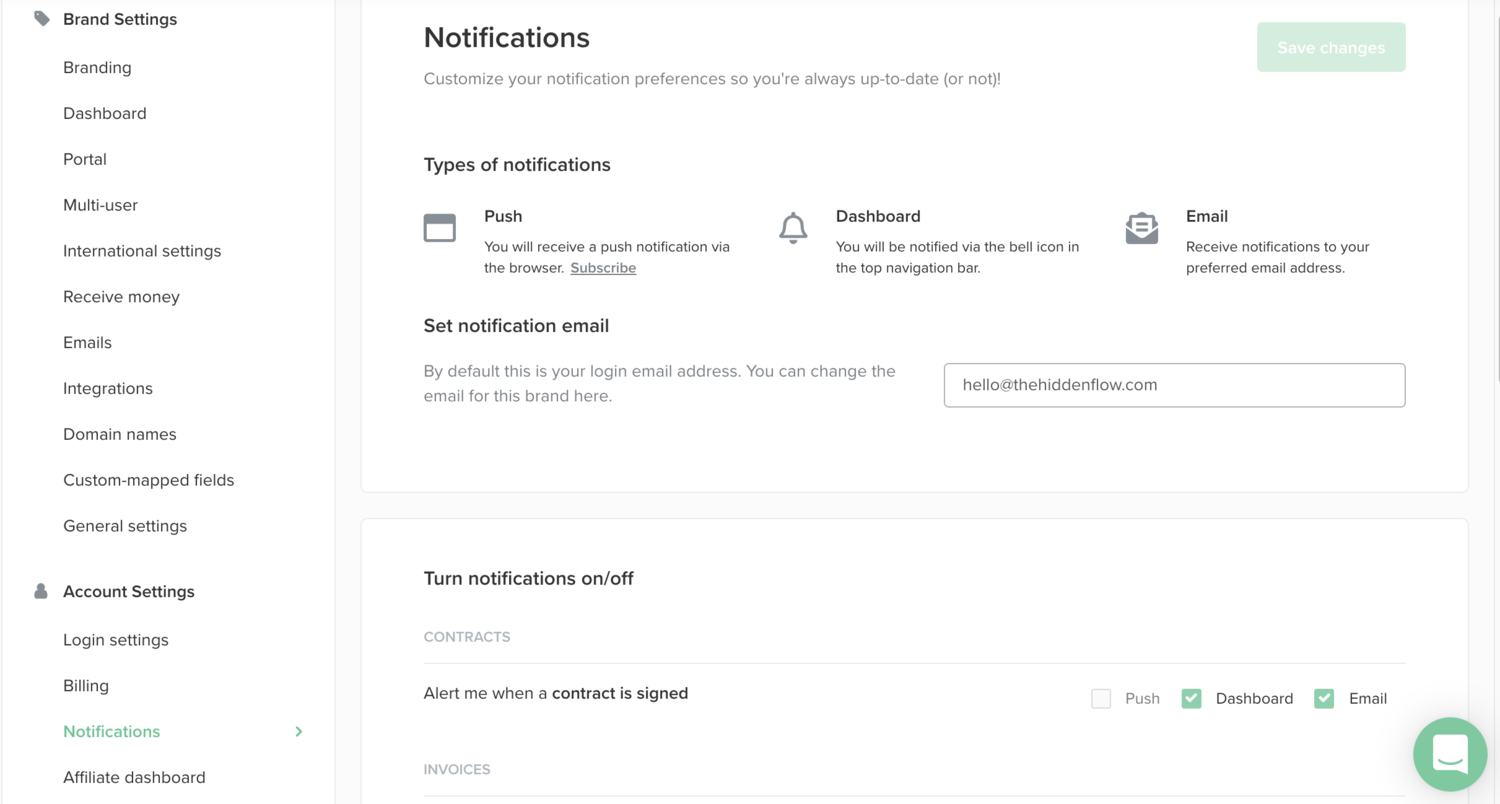
In the Notifications section, you can change the email address on which you want to receive notifications if a client filled in a form or made a payment. In the beginning, I would recommend leaving this as it is and once you get the hang of Dubsado and how it works adjust it to your preference.
Affiliate Dashboard
Here you can create your own affiliate code. Dubsado offers affiliate credit for every paid subscription that you bring in. The benefit for the people you refer to Dubsado is that they 20% off on their first month or year depending on what plan they choose. When someone has used your affiliate code and made their first payment you get a free month in return. You can find this back underneath the affiliate link where you see Total credit. Feel free to use my affiliate code: thestreamlinedcreative or click here to use my affiliate link.
AND THERE YOU HAVE IT
There you have it, a step-by-step overview of how you can start setting up your Dubsado. Want to learn more about Dubsado and client workflows? Check out these blogs and free resources:
